Fixing your broken dreamcast trigger buttons

Special Note: If you choose to follow this procedure, you do so at your own risk. I assume no claim of loss or liability resulting from or related to these directions. (But these directions worked for me, so they should work for you too).
For starters you will need the following tools: (They can be purchased at a hardware/craft store)
- small Phillips head screwdriver (shaft must be long enough to reach into deep screw holes)
- super glue/crazy glue or some equivalent
- a piece of paper
- a surface to work on
- a little bit of patience and manual dexterity
Okay, on with the directions:
- Start by unplugging the controller from your dreamcast
- Using the screwdriver, unscrew the 6 screws on the base of the controller
- Put the screws in a safe place so that they don't get lost...you WILL need them later :-)
- Carefully separate the two pieces of plastic that make up the dreamcast controller
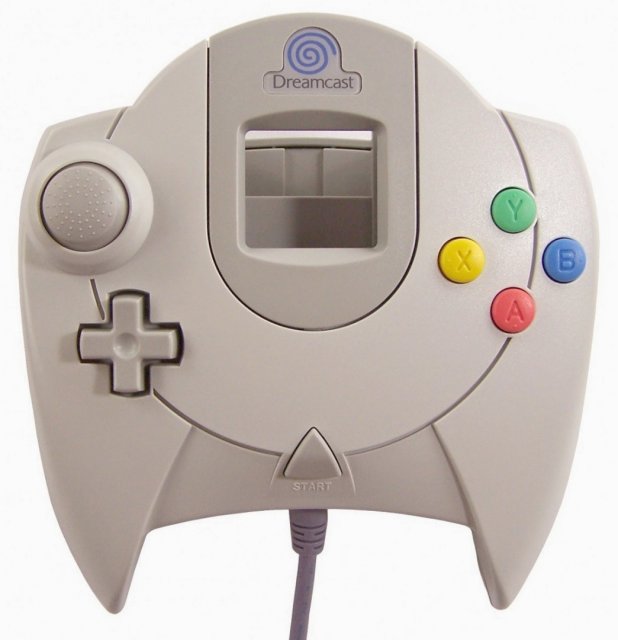
- Notice the layout of the inside of the controller: on either side of the circuit board is a trigger that has a magnet attached to it (serving as part of the potentiometer allowing the analog functioning of the trigger buttons)
- Now carefully remove the broken button (if both are busted, then fix them one at a time)
- Be sure that you don't lose the spring and the two small pieces of plastic that have broken off
- If you can't find the small plastic fragments, they are most likely stuck inside of the button molding; take the button and lightly tap it against a table to dislodge them
- Make sure you have both broken-off pieces and you know which goes on which side (you can tell because the bumps should face outward)
- Now comes the fun part: open up the super glue and make sure it is flowing by dabbing a bit onto a piece of paper **Note: when working with super glue be very careful not to get it on your fingers...if they get glued together, that's bad**
- Next apply a small bit of glue onto one side of the button casing along the crack where it's broken; be careful not to put on too much
- Now take the corresponding broken piece of plastic and firmly set it in place (adjust it so it lines up properly with the rest of the button)
- You may want to apply a little extra glue along the sides of the crack to make sure it stays in place
- Set the button down and let the glue harden (10 minutes should be good)
- Repeat the process with the other side
- Let the button sit for a couple of hours just to make sure it's good and dry (go outside or read a book...or play a different console)
- Now comes the trickiest part...snapping the button back into the controller
- Place the spring into the button molding; make sure it falls on top of the piece of plastic sticking out
- Invert the controller and ease the spring onto the connection on the tirgger base
- Next put the two tabs on the back of the trigger into the corresponding grooves (will cause the spring to contract, generating some pressure so be careful)
- Now angle the button sideways and ease in the first repaired tab...this is a bit difficult and might take a couple of tries
- Gently apply pressure to the other side of the trigger immediately above the repaired crack line and lower the trigger into place (you should hear a click as it slides into position)
- Move the trigger back and forth to make sure everything has been properly assembled
- If necessary, repeat the above steps with the second trigger
- Replace the bottom half of the plastic casing while making sure that the cord is properly squared in its groove (you may want to take this opportunity to clean off the sides of the controller and the slots where the triggers insert...these may have accumulated grime from playing)
- Finally screw the screws into the back of the controller and you're done!!
There maybe a slight discrepancy in feel between the two triggers, but there should be no problems in function. To ensure that they don't break again...play gently.
Additional notes: if you hold down the gas the whole time in Sega Rally 2, you might as well change the button configuration so that you don't use the analog buttons for accel/brake. Also, in Power Stone it doesn't matter how hard you pound the trigger buttons...you still get the same special moves! :-)
Happy Gaming!


