Dreamcast Optical Drive Emulators

There are several options at the moment to launch homebrew and backups other than with the original GD-Rom drive:
The GDEmu
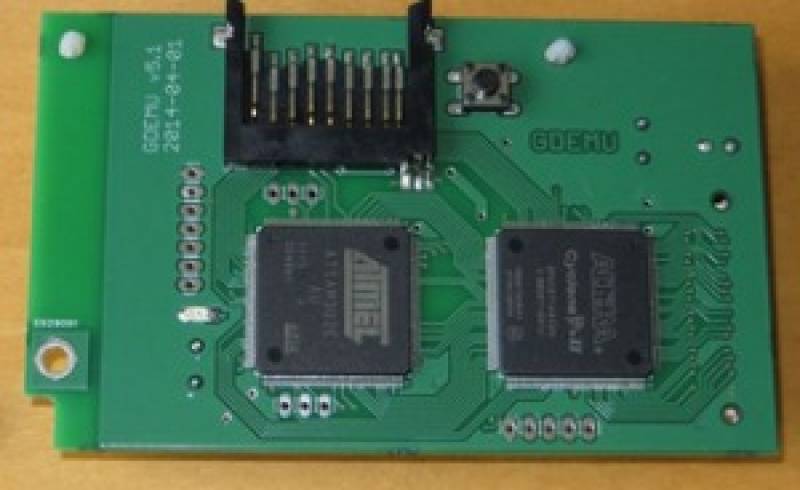

The GDEmu is an ODE (Optical Drive Emulator) by someone who is also responsible for others ODEs like the Rhea and Phoebe for the Saturn and recently the DocBrown for the FM Town Marty.
It’s a plug-and-play all-in-one solution that allows you to load content from an SD card.
The price is 130€ and it’s a preorder system.
Note: because the ODE doesn’t use 12v on the GD-Rom drive, it’s safer to remove it from the power supply. It has been discussed by Citrys3000psi here and Terranius here on ASSEMBLER Games and also on u/50CALBR here on Reddit.
Since its released, members of the community has developed tools to enhance the experience:
- Madsheep has made an GDEmu SD card maker;
- Neuroacid has made the GDMenu;
- FamilyGuy, S4pph4rad and Rocky5 have made the Extract Rebuild GDI.
There’s a thread on ASSEMBLER Games made by duskdawn about all of this.
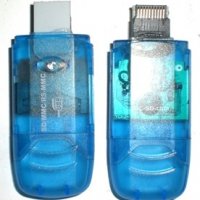
The USB-GDROM
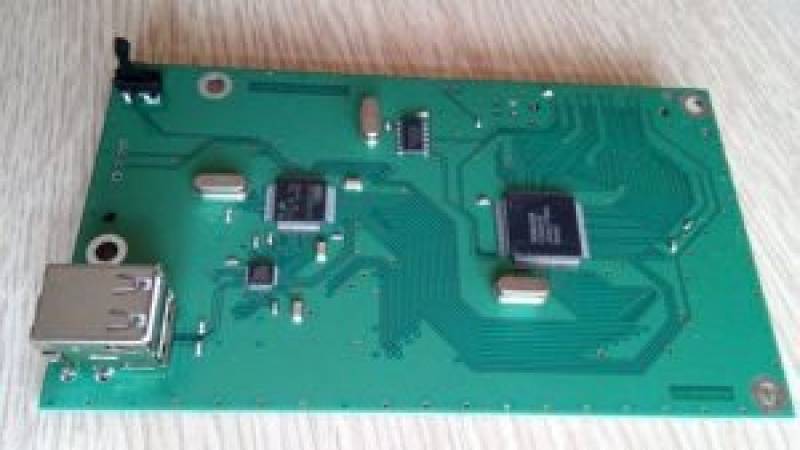

The USB-GDROM is another ODE by the Russian team 3DO Renovation who also makes ODE’s for the 3DO (FZ1, FZ10 and Goldstar). Please keep in mind that this solution requires cannibalizing a Dreamcast or Naomi GDROM drive, which is exactly the type of thing preservationists try to avoid with ODE’s!
It’s a plug-and-play all-in-one solution that allows you to load content from USB.
The price is from 150-180 USD depending on the Paypal option you choose.
The device is usually in stock.
Due to the similarity between the 2 products, a comparison can be found here (made by 3DO Renovation): http:/3do-renovation.ru/comparation.htm
The note above for GDEmu about 12v applies here as well.
The G1-ATA
The G1-ATA is a project based on the IDE connection found on motherboard or the GD drive of the DreamCast. It is originally initiated by the Russian team DC-Swat in 2014 and has greatly evolved since. The whole mod can be entirely free (if you don’t mind soldering 50-ish wires) or there are easier solutions that exist.
This subject is divided into 4 sections:
- 01 – IDE port
- 02 – DreamShell bootloader
- 03 – Serial port
- 04 – DreamShell
01 – IDE port
The DreamCast’s GDROM drive uses IDE technology, which is the same as the old HDD connector (before SATA). The G1-ATA exploits the IDE port for use with booting backups. Here’s a history of the different methods and PCBs sold through the years:
– In 2004, the Russian team DC-Swat discovered IDE pins on the motherboard and on the GD-Rom. They started to work on an OS called DreamShell capable to read data from an IDE device.
You can find more info on the pins here (see below for DragonCity tutorial).
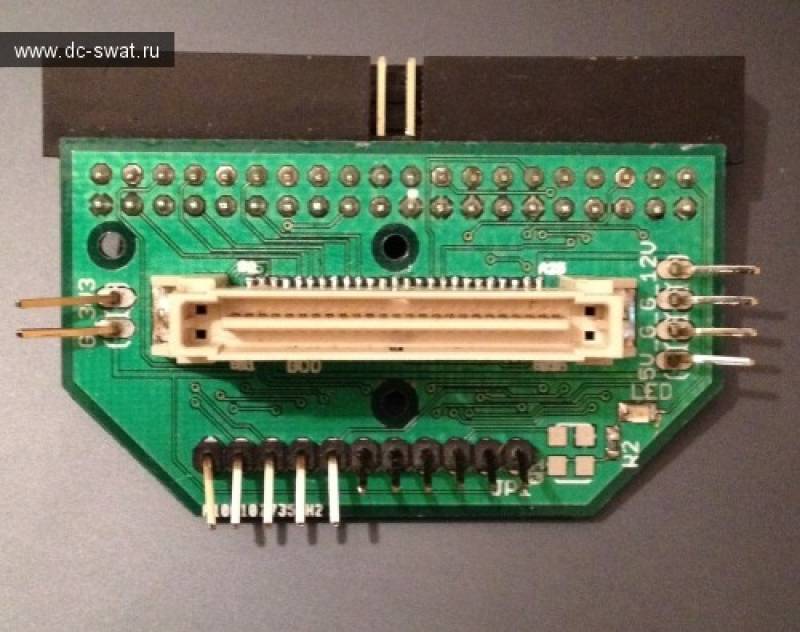
– In 2014, DC-Swat made a first PCB called G1-ATA.
It is no longer on sale unfortunately.

– In 2016, XCKDIY made a 2 boards available on sale on TaoBao to replace (and not add) the GD-Rom drive. The 1st one was for IDE HDD, the second one was for CF cards. @SmokeMonster made a thread about it here on AssemblerGames. @MobiusStripTech among other people tried to make it all working with adapters.
It seems the CF version is still available.
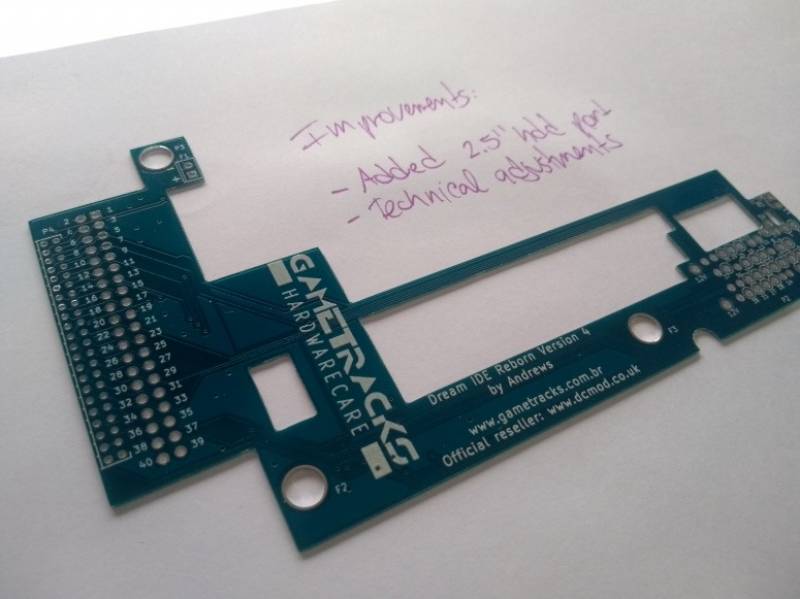
– The same year, GameTracks made another PCB called “Dream IDE Reborn”. It’s a quick solder board you can add to the MB to get a IDE device on top of the GD-Rom. You need to contact him to see if the board is still available. All information about price and order can be found here.

– FYI in January 2018, IceKicker made a flex cable to easily connect an IDE device but hasn’t intended to sell it.
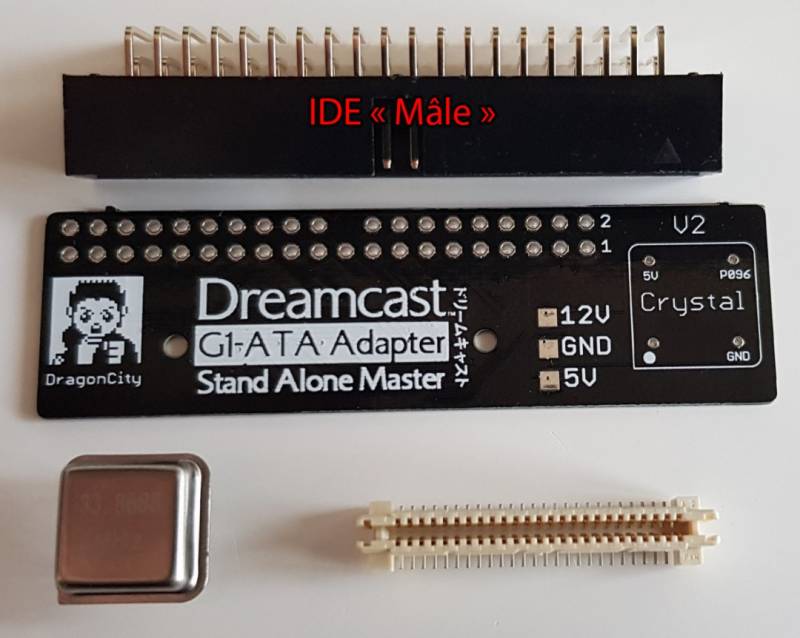
– Later in 2018, a french modder called DragonCity made a lot of R&D on the whole project. (All the following links are in French, sorry).
He explained how to install a IDE ribbon cable here.
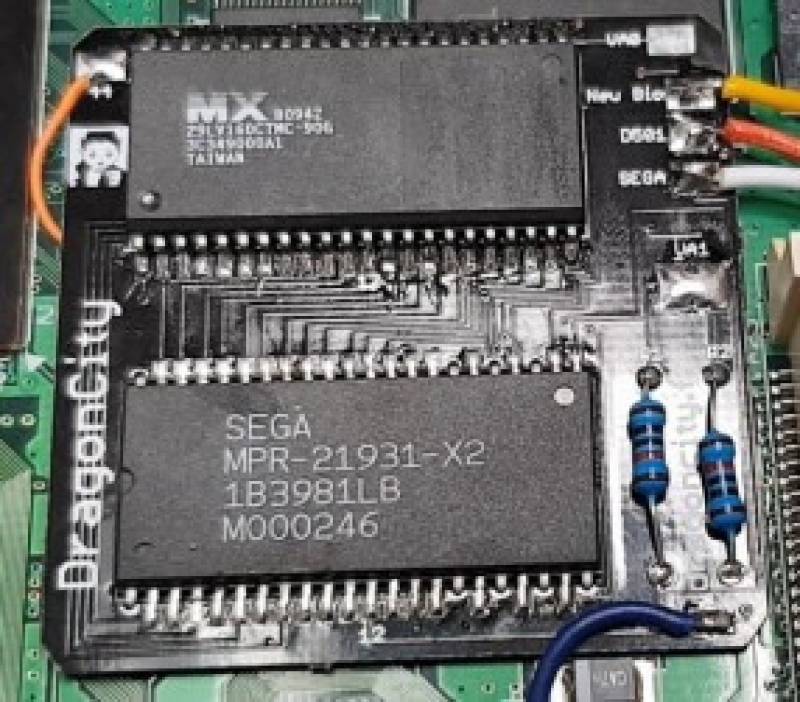
He made another version of the G1-ATA here. This QSB is made to replace the GD-Rom drive.
He also made his own version called GD-IDE. This QSB is used to add a IDE device to the DC.
On these 2 sections, you can also see which type of adapters he recommends, which ones aren’t compatible with all games etc.
He also made tutorials for others things, more on that on the other sections.


Well, that’s it for part 1 about the IDE connector.
Now that you know how to add an IDE device, please move on to the DreamShell bootloader.
02 – DreamShell bootloader
In order to use DreamShell OS and so load games, you’ll need a way to boot to it.
If you have a model that can already read backups, one easy solution is to grab DreamShell Bootloader from DC Swat team here.
If your goal is to replace a dead GD-Rom drive or if you want to avoid loading times, you can replace or add a DreamShell Bios.
You can find valuable info on DragonCity website here (still in French, I can translate this page and put it here on RetroRGB if there is a demand).
He also make a custom PCB to be able to choose between 2 BIOS available here.

03 – Serial port
The serial port here is only used to access to configuration files and covers in DreamShell to boot the games.
Sadly, putting games directly into the SD card connected into the DC Serial Port will result in a poor gaming experience due to slow downs. Which is why you have to use the IDE port.
There are 2 ways to connect an SD card to the Serial port:
– The DC-SD: it’s a plug & play adapter with an SD card slot. People have found problems sometimes with theirs, I know DragonCity sell verified ones on this page.
You can also find some on Ebay:
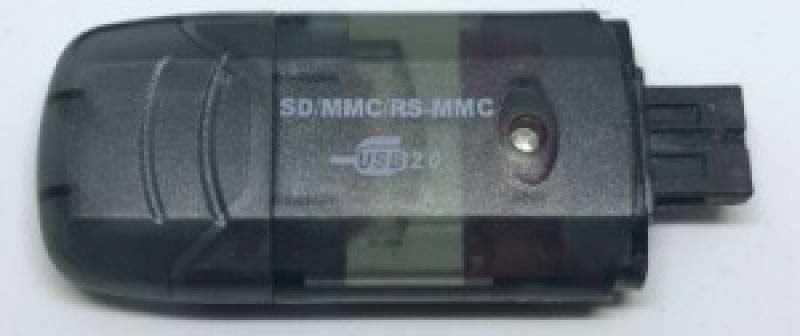

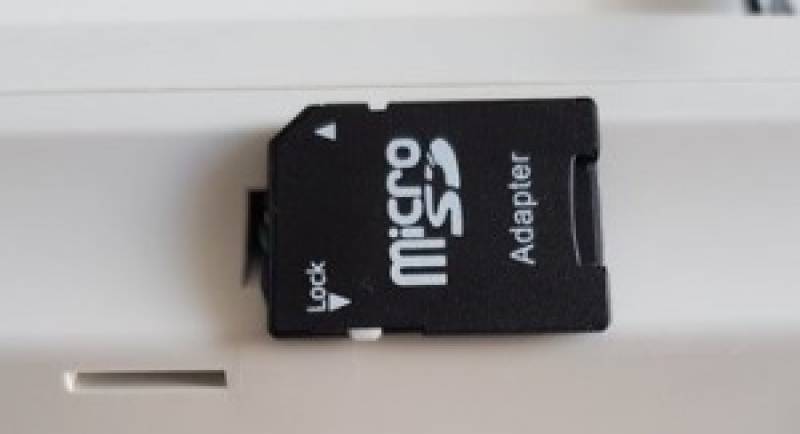
– Wire 6 cables on the motherboard to an SD -> µSD adapter. DragonCity made a nice #nocutmod tutorial here to get the SD adapter outside the console.

DragonCity has made a very nice pack with the latest build os DreamShell, covers for games etc.
You can download it here.
04 – DreamShell OS

This section is about the DreamShell OS itself.
First of all, to store you games, you can choose between these devices:
- A 3.5″ IDE HDD: You’ll need to get 5V, 12V and Ground from the DreamCast
- A 2.5″ IDE HDD: You’ll need a 3.5″ -> 2.5″ adapter like this one and get 5V from the DC.
- A 3.5″ SATA HDD: You’ll need a IDE -> SATA adapter like this one and get 5V, 12V and ground from the DC.
- A 2.5″ SATA HDD or SSD: You’ll need a IDE -> SATA adapter like this one and get 5V from the DC. *** Best choice imho ***
- A Compact Flash: You’ll need a IDE -> CF adapter like this one and get 5V from the DC.
- An SD Card: TL:DR -> Not worth it!
(You’ll need to get a IDE -> CF adapter, get 5V from the DC, then a CF -> SD adapter but you won’t be able to boot Win CE based games anyway)
Format/Create a FAT32 partition and create a SD folder in it.
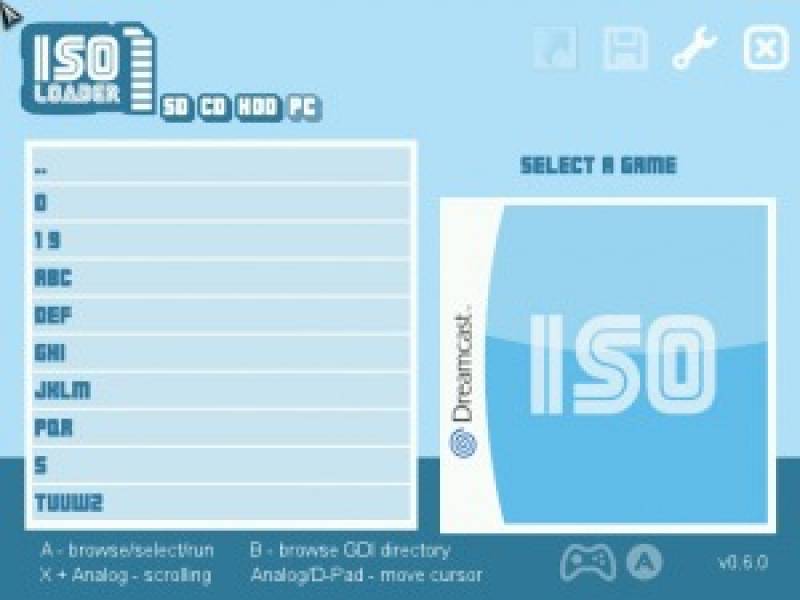
Since DreamShell view is currently optimized to display 9 items, it’s recommended to subdivide your game collection into sub-folders like this.

Try to get games in .ISO or .GDI.
.CDI files work as well but it means the GD-Rom (1GB) has been reduced in size to match a CD-Rom (700MB), so some part of the game might have been removed.
In order to gain space, the best is to get .GDI optimized games (you can do it yourself with GDI Optimisator).
A compatibility list can be found here.
To load your games correctly, you can change a lot of presets in DreamShell, which is why the pack made by DragonCity is VERY useful!
It contains presets for hundreds of games.
Finally, to load a game, just go to ISO loader, browse in the folders and select the game you want.
Believe it or not, this is condensed version of what you can do with DreamShell. If you wanna know more, strongly recommend you to visit the DreamShell section of DragonCity website.
It’s all in French but you have screenshot and video to help (along with Google Translation ^^).
There you can find how to:
- Make screenshots in DS;
- Put your own covers;
- Change the loader for games like Shenmue;
- Create a shortcut on the Desktop
- Copy a savegame to the PC and vice versa;
- …
A note on the writer:
This article has been written by me, Beyond Pixels. I apologize in advance if something isn’t clear enough, English isn’t my mother tongue. If you have any question or suggestion, please feel free to contact me through Bob from RetroRGB.
Special thanks to:
- 3DO Renovation, the person behind the GDEmu and the Team DC-Swat for making the DC even more awesome that it already is;
- DragonCity for his amazing work on the DreamCast in general, he is the French @SmokeMonsterTWI of the DC;
- Bob from RetroRGB for letting me write articles on his wonderful site.