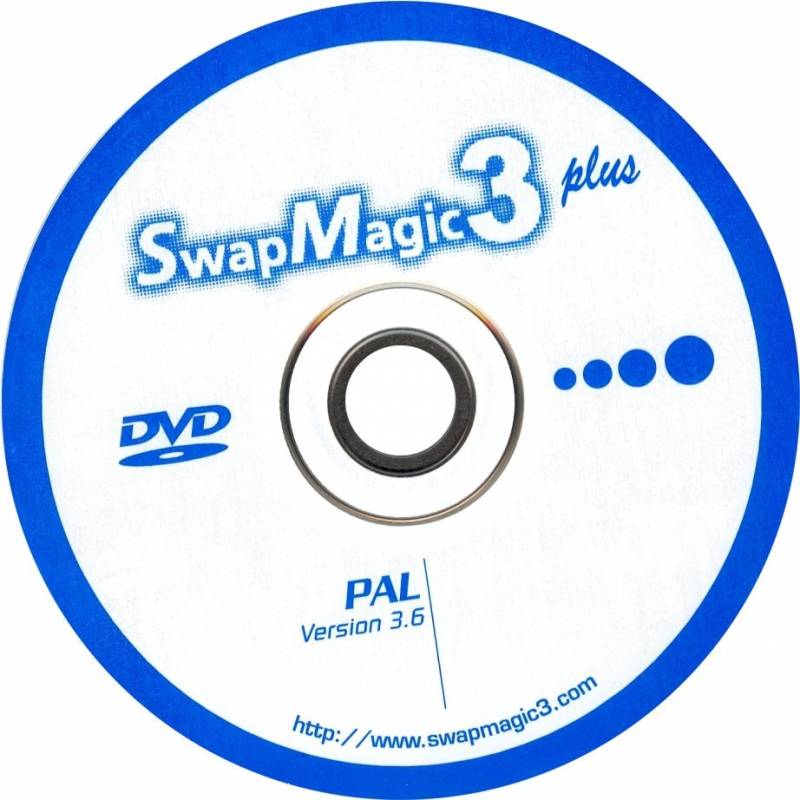
Playstation 2 SwapMagic tutorial


Booting import/backup games:
- Boot PS2 with Swap Magic (use CD or DVD version#)
- When the title screen appears (you will see 2 options, Load Program and Video Mode on the screen), you can start to use the flip top cover or slide-tool** to swap the discs with your import/backup.
- Press X on the joy pad and the game will start
#If your import/backup is CD, please insert Swap Magic CD ver., vice versa.
**For more information about the operation of flip top cover and slide-tool, please visit http://www.swapmagic3.com
Loading your own programs from USB Mass Storage Devices:
- Rename your program to SWAPMAGIC.ELF
- Create a folder named SWAPMAGIC in the root directory of your USB Mass Storage Devices and then put the SWAPMAGIC.ELF file in the folder.
- Plug-in the USB Mass Storage Device to the USB port of the PS2. And then boot your PS2 with SwapMagic3.6. If the program (SWAPMAGIC.ELF) is found in "../SWAPMAGIC/", it will be launched automatically.
Store multiple programs in the USB Mass Storage Devices:
- You can put maximum 4 files in the SWAPMAGIC folder at the same time. But, you need to rename those programs to SMBOOT0.ELF, SMBOOT1.ELF, SMBOOT2.ELF and SMBOOT3.ELF respectively.
- Plug-in the USB Mass Storage Device to the USB port of the PS2, and then boot your PS2 with SwapMagic3.6.
- When the title screen appears (you will see 2 options Load Program and Video Mode on the screen), you can press:
- A."UP+L1" buttons to load SMBOOT0.ELF
- B. "UP+L2" buttons to load SMBOOT1.ELF
- C. "UP+R1" buttons to load SMBOOT2.ELF
- D. "UP+R2" buttons to load SMBOOT3.ELF
Refreshing the TOC size:
- Insert a Swap Magic Disc in your PS2 (use CD or DVD version#)
- When the title screen appears (you will see 2 options, Load Program and Video Mode on the screen), press the “Eject” button on the PS2 to eject the Swap Magic and put a game disc with larger TOC size to refresh the TOC size.
- After the TOC refresh is done, you can start to use the flip top cover or slide-tool** to swap the discs with your import/backup.
- Press X on the joy pad and the game will start
#If your import/backup is CD, please insert Swap Magic CD ver., vice versa
**For more information about the operation of flip top cover and slide-tool, please visit http://www.swapmagic3.com
Loading program from PS2 save card:
How to install by the naplink save file :
Here is a nPort save file from http://www.swapmagic3.com/swapmagic.npo for people that know how to use nPort and naplink to install.
*In order to perform these actions, you need to have a connecting cable that connects the ps2 and computer.
How to install by the CD image :
First you need to download the files from http://www.swapmagic3.com/smboot.zip
Then you need to unzip the file (SMBOOT.ZIP). Afterwards burn the image file (PS2.ISO) into a CD and boot it with the SwapMagic3.6. Referring to the file list found in the "..\SMBOOT\FILE.LST", files in folder "..\SMBOOT" will be installed into the slot1 memory card.
However, you can edit the "..\SMBOOT\FILE.LST" to remove a line of
"FILExx=XXXXXXX.XXX;1" to install less file, or replace any of the files in folder "..\SMBOOT" with your prefer.
FILExx=XXXXXXX.XXX;1(XXXXXXX)
 ^ ^ ^
 | | |
 | | remark
 | filename will be installed into slot1 memory card
 filename in folder "..\SMBOOT"
How to launch:
Put the memory card in slot 1 and boot SwapMagic3.6, if the program
"mc0:/SWAPMAGIC/SWAPMAGIC.ELF" is found and it will be launched automatically.
When the title screen appears (you will see 2 options Load Program and Video Mode on the screen), you can press:
A. "UP+L1" buttons to load SMBOOT0.ELF
B. "UP+L2" buttons to load SMBOOT1.ELF
C. "UP+R1" buttons to load SMBOOT2.ELF
D. "UP+R2" buttons to load SMBOOT3.ELF