Copy Link
Add to Bookmark
Report
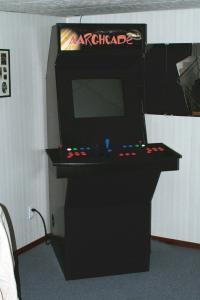
Arcade Cabinet Plans


Ghosts 'n Goblins arcade cabinet
Stage 1: Create the template
- Sketch Template on plywood (for template)
- Cut template from plywood using jigsaw (and table saw as necessary)
- Measure key points from CAD drawing to verify correct angles and distances
Materials needed: jigsaw, table saw, wood pencil, compass, protractor, and string
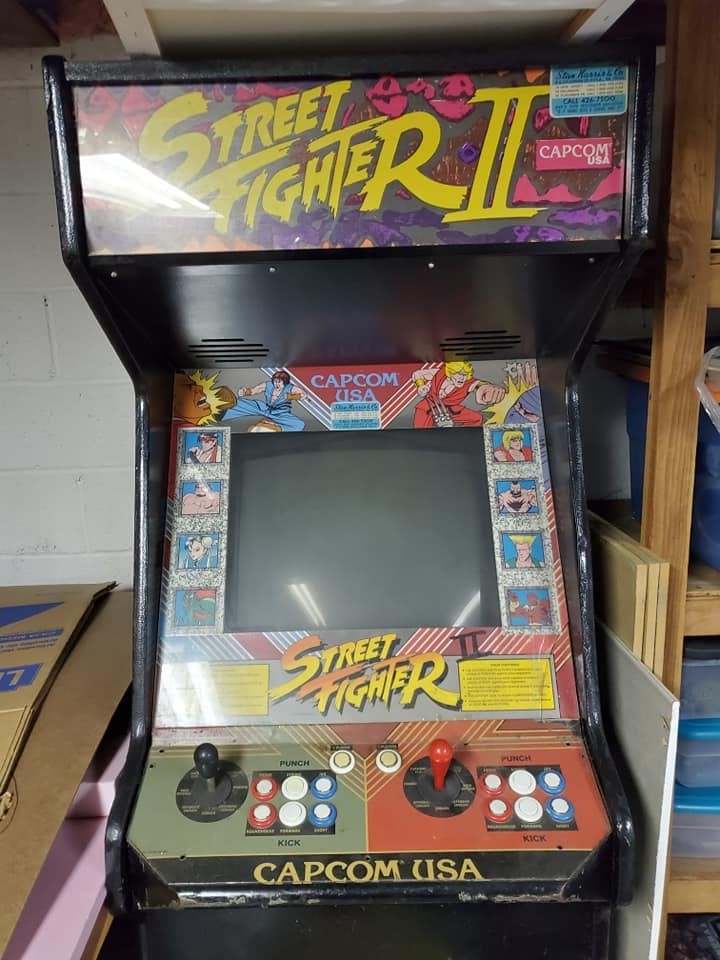

Street Fighter II arcade cabinet
Stage 2: Cutting the pieces
Side panels
- Use plywood template to trace the outline of the cabinet side
- Using a jigsaw (and table saw as necessary) cut the cabinet side from the MDF.
- Repeat steps 1 and 2 for the second side.
- Compare and verify the sides are the same size
- Sand the edges of the MDF using _________ sand paper
Materials needed: jigsaw, table saw, wood pencil, ___________ sand paper
Control Panel
- Measure and outline the CP pieces in the MDF
- Confirm measurements against CAD drawing
- Cut the CP surface (rounded) from both MDF and Lexan
- a. Cut the holes in the CP first.
- b. Clamp the Lexan and drill the screw holes
- c. Secure the Lexan with bolts and cut the remainder
- d. Use a fine-toothed plywood blade to cut the edge
- Cut CP bottom (trapezoid shape)
- Cut CP front and back
- Cut CP sides
- Cut CP front and bottom for the cabinet (seen when CP removed)
- Use mitre saw to fit the front, bottom and back together
- Test fit without permanent attachment
- Sand the edges of the MDF
Materials needed: jigsaw, table saw, sand paper, mitre saw
Marquis
- Measure and outline the CP pieces in the MDF
- Confirm measurements against CAD drawing
- Cut the marquee sides
- Cut the marquee top panel
- Cut the marquee back panel
- Cut the marquee face plate from the Lexan
- Sand the edges of the MDF
Materials needed: jigsaw, table saw, sand paper, mitre saw
Others
- Measure and outline the following:
- a. The front panel (coin door)
- b. The speaker panel
- c. The cabinet top (angled – parallel to speaker panel)
- d. The monitor shelf
- e. The back top panel
- f. The back bottom panel
- g. The cabinet bottom (floor)
- Cut each piece
- Verify measurements again to drawings
- Sand the edges
- Mitre saw the marquis back to fit flush against the cabinet top (angle)
- Verify the fit of the cabinet bottom with front panel and back lower panel
Materials needed: table saw, sand paper, mitre saw


Commando arcade cabinet
Stage 3: Cabinet Construction
- Route the cabinet side panels for the T-Molding
- Route the speaker panel top for the Lexan face
- Route the edges of the marquis sides as well as the grooves for the Lexan face
- Route the edge of the control panel surface
- Route a 1/8” groove under the control panel for the trackball, spinner, and joysticks
- Measure and outline the coin door slot in the front bottom panel
- Using a jigsaw, cut the coin door hole
- Prepare the base panel (floor) with 2x4 planks on front and back and pre-drilled strip of wood for the sides. Use glue for reinforcement and clamp until dry.
- Prepare the coin door panel with pre-drilled wood strips on both the left and right. These are to be mounted flush to the edge.
Materials needed: Router, jigsaw, T-rule, T-molding, wood glue, wood screws, drill, and wood pencil.
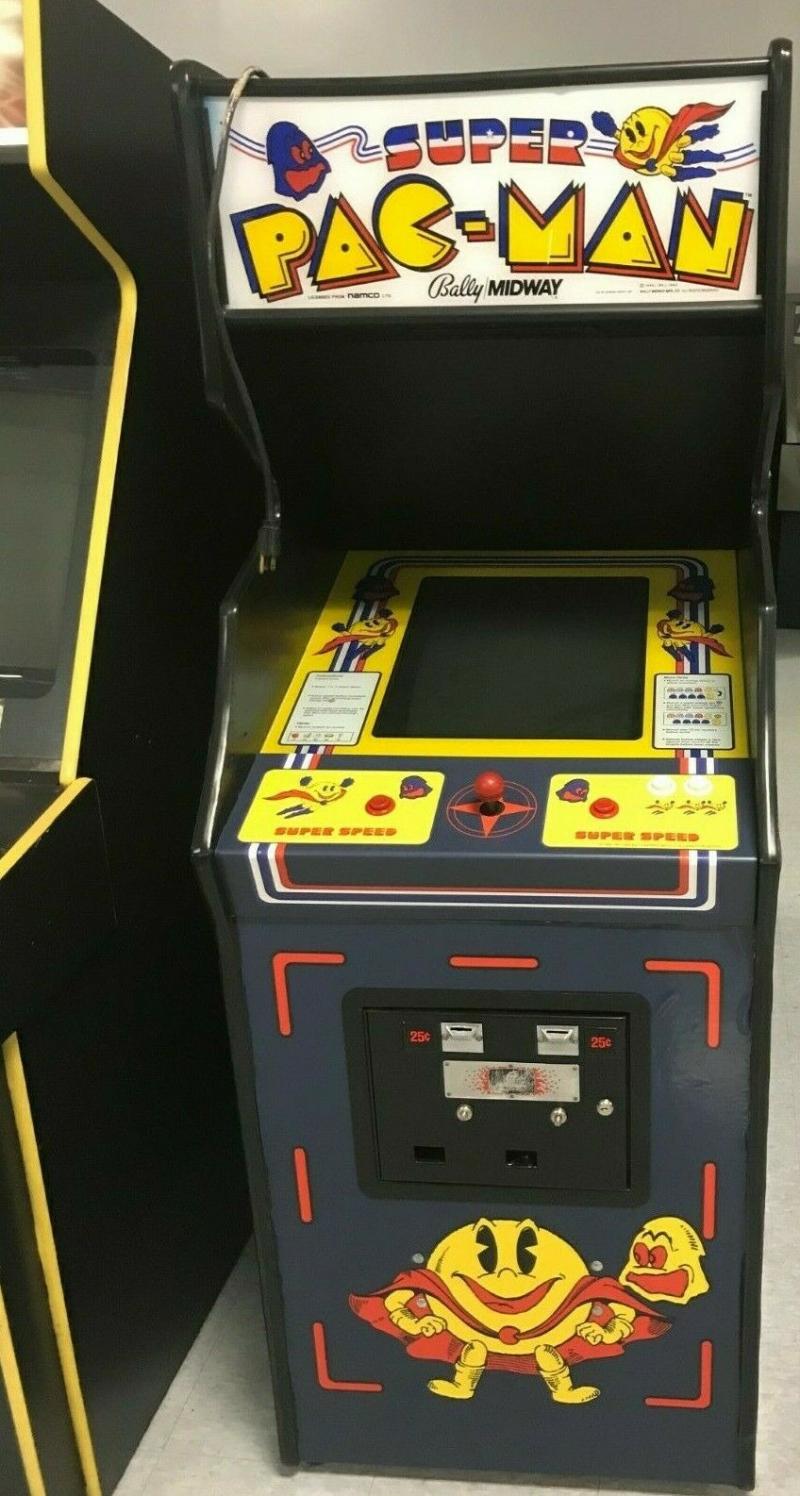

Pacman arcade cabinet
Stage 4: Assembling the Cabinet
- Mark out the side panels where the front panel and base plate will be attached. In the case of the side panels, they are to sit flush to the front panel. The bottom floor will sit 1 1⁄2” from the bottom of the side panels (to make room for the casters)
- While on its side, drill and screw the base, front, and one of the side panels. Be sure to pre-drill with countersink bit.
- Once a good fit has been established, stand the unit and attach the second side panel
- Again, once fitted properly, use wood glue to reinforce the connections.
- Attach the lower back panel. Be sure it is flush to the bottom of the side panels
- a. The casters will sit the entire cabinet approximately 3⁄4” above the ground – flush on each side.
- Prepare the rear upper panel and top angle panel with the pre-drilled, countersunk wood strips
- Apply battens and attach the rear upper panel. Screw and glue.
- Measure the depth of the monitor and attach two 2x4 support beams to support the back of the monitor as well as two 2x4 support beams below the monitor. Use the L-bars for added support.
- Apply battens and attach the top panel (angled). Screw and glue.
- Make sure the top angle panel and the back support top panel are flush. The mitre saw may be necessary.
- Lay cabinet on back and attach the four casters to two 2x4 beams installed below the floor plate.
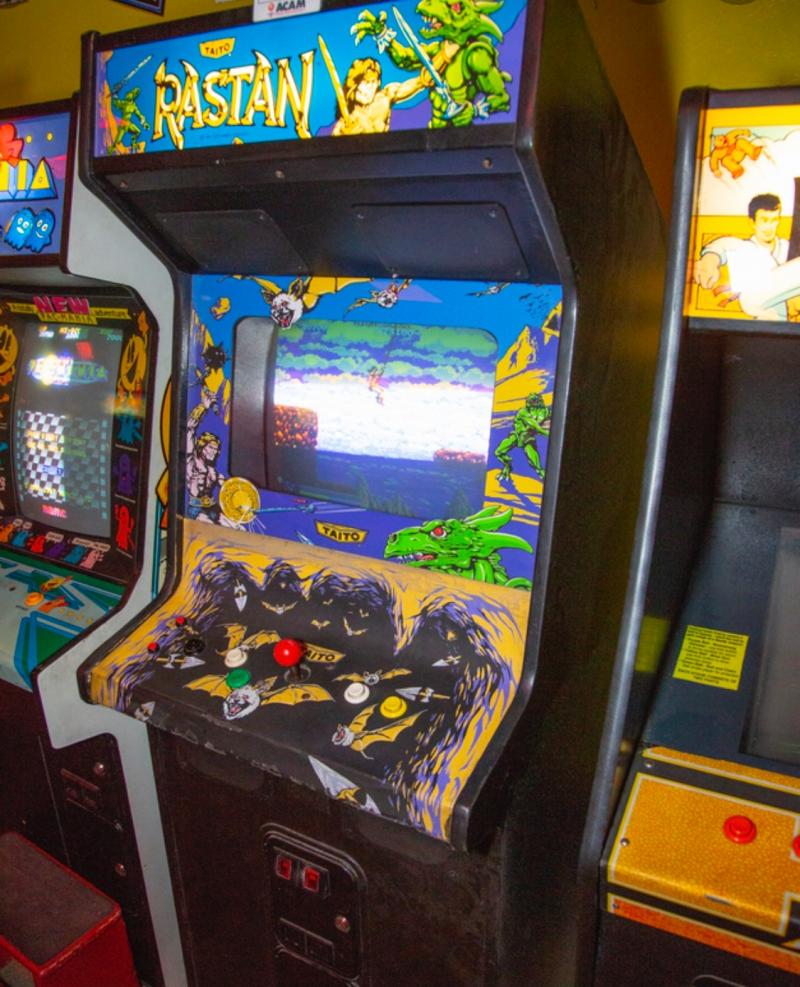

Rastan arcade cabinet
Stage 5: Constructing the Control Panel
- Drill 1 1/8” holes in the side CP panels for the pinball buttons.
- Assemble the bottom of the control panel with the base as well as the front and back panels
- Verify the angle of the side panels meet well via the mitre saw cuts.
- Verify the angle of the surface of the box will match the CP surface angle and sit flush.
- Use the printed control panel templates to attach to the surface of the control panel.
- Apply dark blue construction paper to the surface of the control panel.
- With a scrap piece of paper and wood, practice cutting a hole in the CP and note the reaction to the construction paper
- With the countersink drill bit, create four holes in each corner of the surface through to the box below.
- Once the holes are drilled, clamp the Lexan CP surface and drill from the bottom of the surface through to the Lexan.
- With bolts, temporarily attach the Lexan to the CP surface
- Begin drilling the button, joystick, and controller holes using the hole saw.
- a. Note to be careful of the Lexan reaction and to not go too fast due to possible melting.
- Once the holes are completed, remove the Lexan and add the control panel overlay.
- Using an exacto knife, cut the holes from the paper.
- Replace the Lexan and apply the bolts to the surface temporarily.
Installing the buttons and controls
- Begin to install the buttons, trackball, and spinner.
- Install the I-Pac and Opti-Pac to the box set aside for the CP.
- Install the 13” fluorescent light to the bottom of the CP box where room allows. Run the plug through a hole drilled in the back.
- Once completed, turn the panel over and begin to wire the controls.
- a. Using 22 gage solid wire and female slider connectors, solder the connections together after they are made.
- b. Wire the ‘normally open’ (NO) to the I-Pac and wire the ground daisy-chained to each control.
- c. Wire the trackball and spinner to the Opti-Pac.
- d. Test the connections with a computer keyboard and the mouse interfaces (spinner and trackball)
- e. Once accepted, remove the temporary bolts, replace the surface of the CP with the CP box and secure the box with the four bolts.
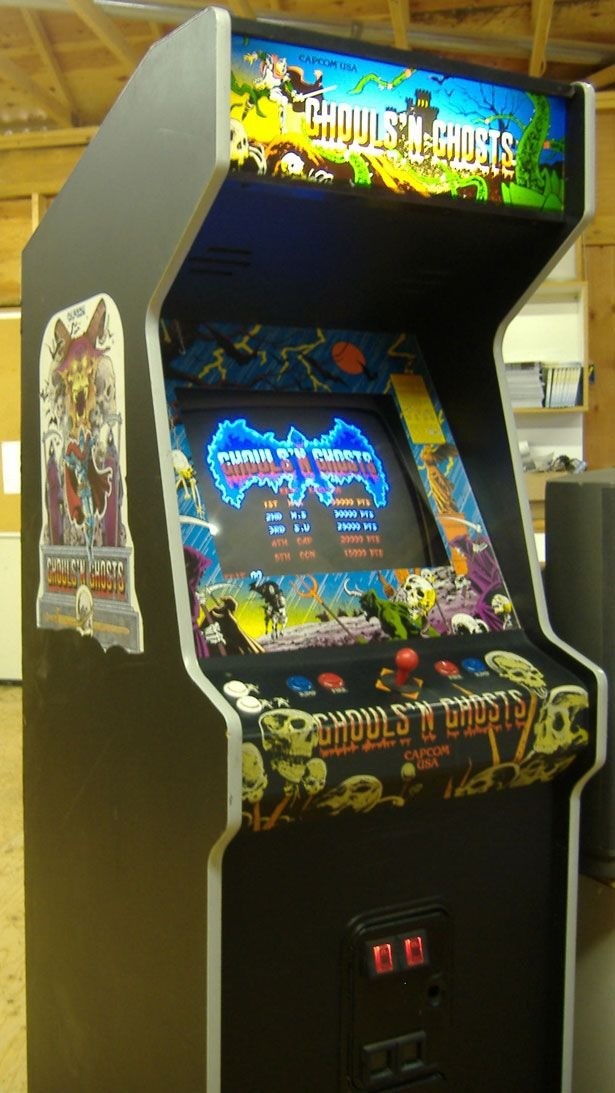

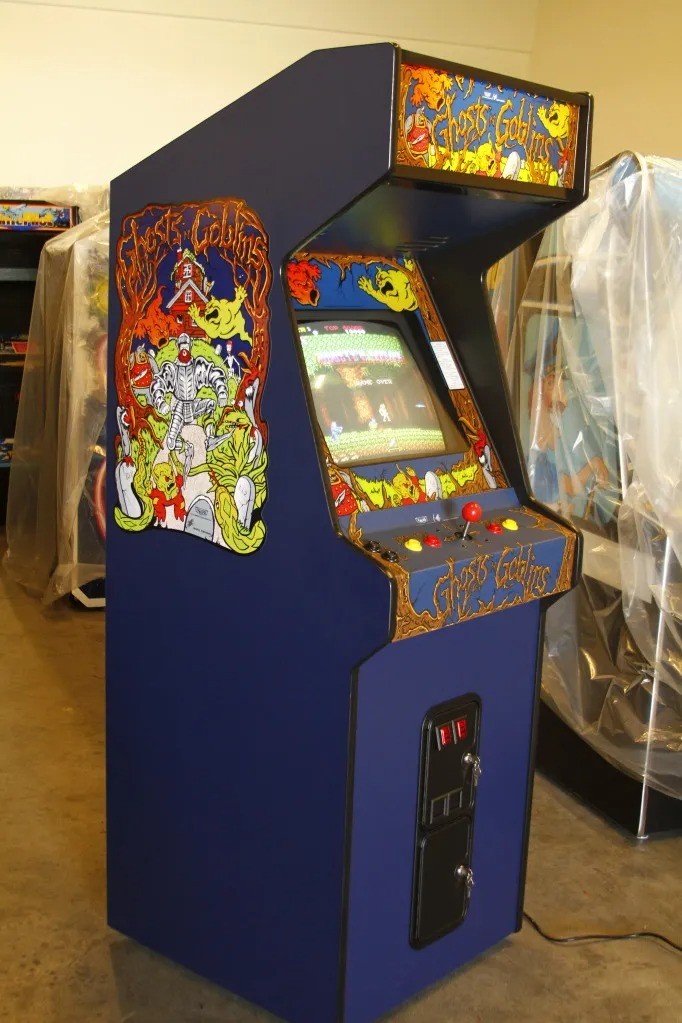
Ghouls'n ghosts arcade cabinet
Stage 6: Fitting the TV and viewing glass
- Attach pre-drilled wood strips to the inside of each side panel for the purpose of housing the glass
- Using black poster board, cut out the shape of the TV screen for use as the monitor bezel.
- Install the monitor shelf to the monitor supports installed earlier.
- Secure the monitor shelf
- Place the TV in the cabinet on top of the shelf and verify a good fit.
- Place and temporarily secure the bezel on the wood strips
- Apply the glass over the bezel and temporarily secure it using molding.
- Once a good fit has been established, remove the TV for finalization of the cabinet.
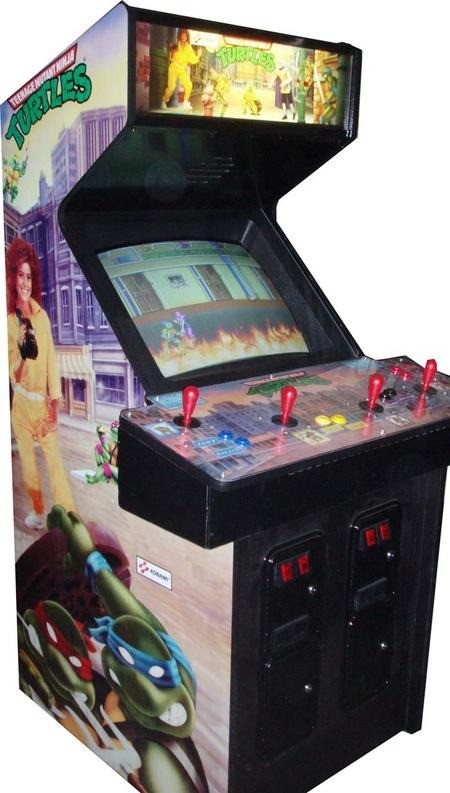

Teenage Mutant Ninja Turtles arcade cabinet
Stage 7: Final Woodworking and Lighting
Speaker shelf
- Prepare the speaker shelf to be installed by screwing and gluing the battens to the shelf. Be sure to pre-drill the battens before installation
- Cut the necessary speaker holes in the speaker shelf to house the computer speakers
- Remove the speakers and install the speaker shelf
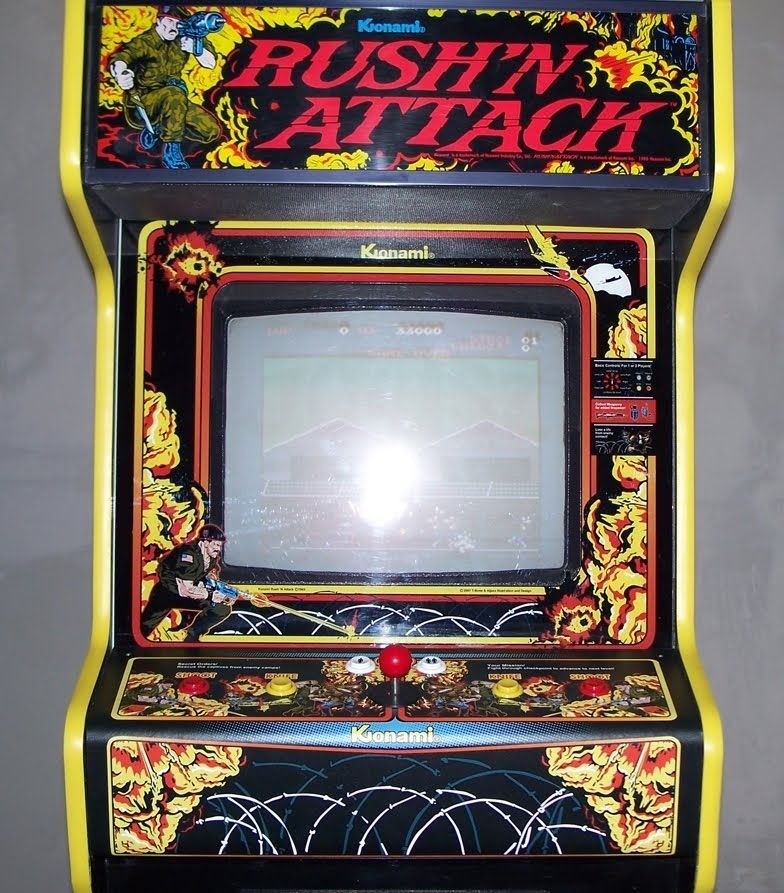

Rush'n Attack arcade cabinet
Stage 8: Assembling the Marquee
- Install the 18” fluorescent light to the back marquis panel and run the plug down the back side of the cabinet.
- Similar to the cabinet, connect on side of the marquis to the top panel and the back panel (with light)
- Make sure the top panel and back panel are flush to each other. A mitre saw cut may be necessary.
- Attach the remaining side.
- Slide the Lexan, from the bottom, up the slot in the marquis.
- Attach all necessary T-molding
- Install the marquis to the top of the cabinet fitting the Lexan into the groove in the speaker shelf.
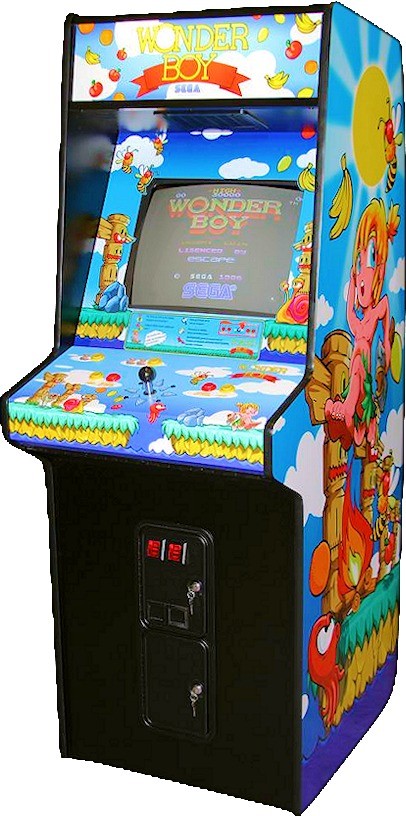

Wonder Boy arcade cabinet
Stage 9: Painting and Artwork
Stage 10: Installing the Hardware
Computer
Monitor