Quick-Doc for Star Wars: X-Wing

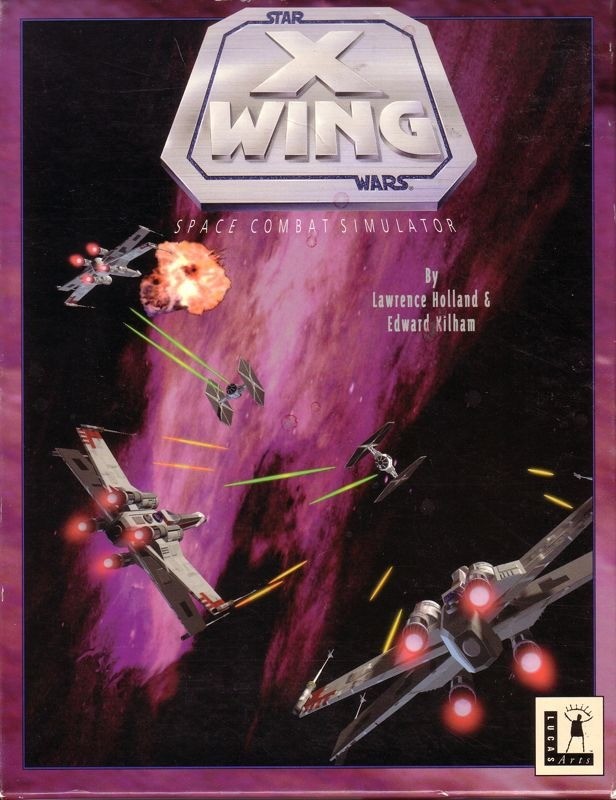

Well, an entire day has passed since The Humble Guys released one of the most-awaited games of the year - X-Wing, and no documentation has been forthcoming. Thus, I gave in to the anticipation of the game and sat down to mess around with it.
This is by no means a complete documentation file, or even a sketchy one. All it has are the keys that I have figured out in the last 5 or 10 minutes, and will help get you started until real docs arrive.
I encourage other people to add to this documentation file - just increment the number and add your own comments or additions at the end.
The game is similar to wing commander - fly around, navigate, blast enemies, fullfill missions. A brief description of the cockpit will follow - note that this is JUST for the X-Wing type fighter.. the other types are similar. I recommend that you set your mouse sensitivity high - I've been playing with my standard mouse mode and it is very difficult to move..
In the upper left and upper right are round radar screens showing enemy positions in front of and behind your ship. Dominating the top half of the screen is your view panel - this is where the action occurs. Note your crosshair in the center - self-explanatory I hope.
In the center of the screen is your weapon charge display. The little dashes indicate laser bursts remaining, and the green lights show which lasers will fire next time you fire. See the "X" command below to change the fire pattern, and the ";" and "F9" commands below to adjust laser recharging. In the center of this display are two numbers, one on the left and one on the right. This indicates the number of photon torpedoes in each tube.
Below the weapon charge display is a computer display. It will show statistics (training missions), target information, or a tactical map (see the "R", "T", "I", and "Y" commands below). It is pretty straightforward.
Below the computer display is your throttle display. It shows the amount of thrust you are currently pushing, and your current speed. See the "+" and "-" keys to adjust this. I do not know how to toggle the "forward/reverse" throttle bar.
At the lower right you've got a clock - helpful in those time-sensitive missions.
Command keys I have determined include:
- F3 : Switch to an outside view of your ship (or back to internal view)
- 7 8 9 4 5 6 1 2 3 : Display views out the left, right, top, bottom, etc.
- . / : Display front view display, toggle between full screen and cockpit
- W : Weapons. Switch between laser and photon torpedo on an X-Wing.
- R : Select preferred target (closest or mission).
- T Y : These two keys select the next or previous target, allowing you to cycle through all available targets.
- I : Target information / tactical toggle. Switch between a computer readout of the enemy's statistics and a tactical display of where he is.
- P : Pause the game.
- S : Shield adjust - move all shields to the fore, all shields to aft, or distribute them evenly.
- D : Damage control. Lets you choose the priorities to work on and view whats been hit. You can get to M)ap and mission B)riefing from here.
- F : Foils. Opens the wings to enable you to attack. Only the X-Wing has this, no need to deal with it on the A-wing and Y-wing.
- H : Hyperspace jump. Use to abort training missions.
- ; : Transfers energy from your shields to your lasers.
- ' : Transfers energy from your lasers to your shields.
- X : Changes firing pattern / rate. Single fire means one laser / photon will fire when you hit the fire button. Cross fire means opposite pairs will fire at once (ie: top left/bottom right, then bottom left/top right). Full means all four lasers / both photons will fire simultaneously. Do this when closing in on an enemy you can't miss, but it uses up laser power quickly.
- C : In-flight recording camera on/off. If you want to play back your mission, turn on the camera.
- V : Adjust the camera view.
- B : Briefing. Allows you to review the mission briefing and link to M)ap and D)amage control.
- M : Map. Shows the mission map with your current location. Allows you to link to the B)riefing and D)amage control.
- F9 : Adjust laser recharge. You can set your lasers to recharge slowly, quickly, normal, maximum, minimum, etc. Note that energy going to the lasers comes from something else. Note the ELS display in the cockpit.
- F10 : Adjust shield recharge. Like the laser recharge above, but for shields.
- CR : Fire your weapons.
- + : Increase speed.
- - : Decrease speed.
- Left Mouse button : Fire weapons
- Right Mouse Button: Hold down to rotate your ship.
The Ships
The X-Wing is the basic all-purpose fighter. Has a maximum speed of 100, and carries lasers and a few photon torpedoes. It must open its foils to attack.
The Y-Wing is a heavy duty attack ship. It not only carries lasers and photons, but also carries a pair of hard-hitting ion cannon. Its maximum speed is 80.
The A-Wing is a light fighter - poorly armed, but quicker and more maneuverable than the other two.
Stuff to Do
You've got a few choices of where to go when you start playing.. go to the film room to view film clips you've made.. go to the tech room to get information on various ships in the game.. these are both passive activities.
You can go to the "proving grounds" which is a good place to learn how to fly the various ships and pick up some skill, as well as experiment a bit.
You can go to "historical battles" which is more training, but flying actual missions.
You can then go on a tour of duty - the real game.. play for keeps here.
That's it for me - hopefully complete docs will hit the boards soon, but until then, enjoy this quick-doc and feel free to add to it. If you do, send your modified copy on up to The Lexicon CAE, where this file originated.
The Byter / Lexicon CAE / 310-696-8655