Gateway to the Savage Frontier (Walkthrough)

INTRODUCTION
This walkthru of GATEWAY TO THE SAVAGE FRONTIER is divided into 3 parts. Beginner's Information is for people who are unfamiliar with AD&D and the SSI implementation. Game Hints is just that, hints. Outright Answers are explicit answers to puzzles and locations. They are numbered and the numbers match the reference numbers in Game Hints. Finally only information needed to complete the game is given. There are side missions that are not necessary but useful for the loot and experience points. These have been left for the player to discover. Some of the more valuable loot are listed in the walkthru. Locations are usually for the door that leads to where you want to go.
BEGINNER'S INFORMATION
Party composition is very important to compete the game. The player can chose to create a party for this game or a party that can be transferred to the sequels. The main difference between the two parties is the racial composition of the parties. Due to race limitations, any party that will be transferred to the sequels have to be human except for any thieves.
A balanced party has two fighter types (Fighter, Ranger or Paladin), two clerics, two mages and one thief. Since this is one more character than you can have, one non-human multi-class character is needed.
A Ranger is a very good character to have as they score extra hits on giants and giant size characters. At very high levels Rangers can cast some mage spells but this ability is too limited to be of much use. A Paladin has a Protection From Evil 10 Feet spell in effect at all times and at high levels can Heal and cast cleric spells as well. (A Paladin will not rise high enough in this game to do this. This ability will have to wait for the sequel.) If you include a Paladin in your party, you cannot have any characters with an Evil alignment. A Fighter's main advantage is fighters require less experience points to rise to the next level.
You need at least two clerics for their Heal Wounds spells. Your clerics should be of Good alignment so they can Turn Undead. This will make some of the battles much easier.
You need at least two mages. You can get by with one but the battles become significantly harder as a result. Since you also need a thief, a good combination is a human mage and an elf mage//thief. Eventually the elf will reach the racial limit for a mage but will continue to advance as a thief. By the time the elf reaches that limit, your human mage will be powerful enough that the elf is only needed as a backup mage. This limit will not be reached in this game so do not worry too much about it. If you want to optimize the party for just this game, then a fighter//mage and a mage//thief would be a very good combination. You can even replace a fighter with another fighter//mage giving you three mages! By the end of the game your party will be very powerful as a result.
The rule book and journal give a good explanation of the game mechanics and should be carefully read.
All the mazes in this game are 16 by 16 mazes with each coordinate numbered from 0 to 15. The upper left corner is (0,0) and the lower right corner is (15,15). The first number of any coordinate is the horizontal direction and the second number is the vertical direction. Use the Area command to map out the maze as you progress through it. The Area command is useful for locating hidden rooms. If you see an outline of a room but cannot find a door into it, that is a good indication there is a hidden door that you have to find. Just beware that some "rooms" shown in the Area command are solid areas and are not rooms. Also note the doorways you see in combat. Hidden doors show up in combat.
Finding a place to Rest is very important. There are very few mazes in the game that have no rest areas. In most cases you can rest in a room where you fought a battle. If you cannot rest, move to another place. Some common sense helps. Resting in a public street is usually forbidden. Resting in a hidden room usually works. The Fix command will heal and re-memorize spells; however,
the Fix command will not memorize additional spells. When your clerics and mages gain a new level, they also gain additional spells. To get these spells you have to do an explicit Memorize command. Once they learn the new spells, the Fix command will re-memorize them. If you decide to change your spell selection you must use the Memorize command instead of the Fix command.
GAME HINTS
YARTAR
You start out in Yartar. The first order of business is memorize spells and visit the weapons shop across the street from the inn where you woke up. The game gets underway once you meet Krevish. You can encounter Krevish at a variety of locations so wander around. Until you rescue Krevish nothing will happen. Once you save him, accept his offer and his patron's offer. You do not have to accept Krevish as a partner. If you do, make sure and keep him alive. He is important to the end game. While Krevish is not a very good fighter, having him in the party makes for some amusing moments. You also get a slightly different ending. Once you have your commission you can head for Nesme.
NESME
The main mission here is find and kill the Bane priest. A side mission is locating the secret Kraken base and foiling the assassination of the Waukeen priestess; however, all the side events in Nesme exist only to gain experience points and loot. You accomplish nothing substantial by doing them. The first step towards locating the Bane priest lies behind a door with a sign that is a play on Bane. Everything else follows if you try to bashing on some walls. (1)
Once you kill the Bane priest, you know your real mission and it is time to go to Silverymoon.
SILVERYMOON
There are two things to do here. One is to get information and one is necessary. Visit the blacksmith in the SE corner of the city at the right time to figure out what you are supposed to be doing. The clue that a rescue mission exists is found in the Vault of Sages. You must look for the hidden door to perform the rescue. (2) The rescue is a two part mission and the next part will take you to Everlund. You should definitely accept Erek; however,
before rushing off, you should check out the city. There are some useful encounters and a very useful magic shop in the city.
EVERLUND
The rescue is the only thing of consequence at Everlund. Again the key to success is to look for hidden doors. (3) Everything else in Everlund is there just for experience points and loot. You also get the first clue which points you back to Yartar. At this point, the game opens up. You can get the 4 statues in any order BUT the increasing difficulty of each statue imposes a natural order. This walkthru will use the natural order for finding the statues.
BACK IN YARTAR
Check out the taverns. One of them will be very different but the way to find the secret base is to try to leave the city after clearing out the tavern. You will be captured and imprisoned in the secret base. The way out is obvious if you look. (4) It is worthwhile to explore a bit before leaving the base. (5) The big battle (6) gives a clue to the next place to go, Luskan. The way out is very wet.
NEVERWINTER
There is nothing here of any significance. It is worthwhile to explore only for the experience points and loot. There is a magic shop and one place where you can get a +3 long sword made for you if you get some meteorite ore from Tuern.
PORT LLAST
There's nothing of significance here except some nice loot. Check for hidden doors.
LUSKAN
Luskan is important for 3 reasons. First it is the biggest source of magic loot until the end of the game. Second, the clue you found when you return to Yartar hinted you should take a trip on the Brazen Pennant line. Luskan is the shipping line's home port. Finally Luskan is where one of the statues is located.
The magic loot can be found by checking out the various buildings. The building where the statue is located is obvious. Once you get in the tower, look for a hidden door in the rooms where you find Owlbears. (7) (Some amusing dialogue happens if you try to clear all the rooms with owlbears.) It does not matter whether you allow Brinshaar to join the party or not but if you do let him join, do not equip him all that well as he leaves the party as soon as you recover the statue. The statute is in NE corner room (8) but you have to traverse the entire floor to get there. (9) Beware of one way hidden doors. They can force you to retrace your steps.
TUERN
Taking a Brazen Pennant ship to Tuern is the next step; however, at this point a trip back to Neverwinter to stock up supplies might be in order. There is not much in the way of magic shops and training halls in the islands.
Tuern is just a way stop but it is worthwhile stopping here because there is a very good suit of magic armor (10) and meteorite ore (11) for making a +3 magic sword. You also have a chance to rescue some pretty maidens. (12)
GUNBARG
This is another way stop. If you rescue Princess Jagaerda (13), King Redaxe will tell you how to get to the Purple Isles where the next statue is located. You also get a +1 shield as a reward. There is nothing else except some encounters if you stay afterwards. It does not matter much whether you include the princess in your party after you rescue her but she is fun to have around. At this point, the game will not allow you go back. You will end up at the Purple Isles when you try to leave Gunbarg.
THE PURPLE ISLES: UTHREAAL
This is where you arrive. There are three things to do before heading for the other island. First is disable the lighthouse. The second and third deeds are to clear the two forts on the island. That will give you the two halves of the messages that tell you where to go on Trisk to find the statue (14). There is one safe place to rest on Utheraal (15); however, you can usually rest without too much problem else where. You will find a boat to Trisk in one of the forts.
THE PURPLE ISLES: TRISK
Unless you want the experience points, the best plan is head due south until you find the oyturghs (16). There you will find a map that indicates where the statue can be found. (17). This avoids the battles that will wear down your party. Many places on this isle are no rest zones. You will automatically return to Neverwinter but beware that you will face one battle as soon as you return. Don't forget to get your +3 sword made.
LOUDWATER
This is a way stop on the way to Llorkh. It is mainly a source of experience points. It does not matter whether you accept Rishpal. There is a nice side story if you do accept him. The big battle can be whittled down in size if you take the long way around Loudwater through the tavern. That results in a series of small battles rather than one big battle against huge odds.
LLORKH
This is the where the third statue is located. As soon as you enter any business in town, you will be captured. This is unavoidable. There will be a three part battle in the arena so be prepared.
Afterwards, rest and try to bash through the door. This will start the escape sequence. You want to escape and find the statues. Hint: It's another hidden door and Muthtur can give you directions. (18)
There is a side mission in Llorkh. It involves the missing dwarves. You can find them if you look for a hidden door where dwarves might hide (19). Some silver mirrors would nice if you go after the medusa; however, you cannot do anything except kill the medusa.
STAR MOUNTAINS
The last statue is located here and it is the toughest one to get. Take the river north from Secomber and rescue the "bird". To find the statue, search for hidden doors. (20) You can rest in most places after a battle. Beware of medusas.
SUNDABAR
This is just a way stop on the road to Ascore. There are some encounters if you want to explore. Beware of the medusa. Stop by fountain in the center of the square for some experience. (21) It is the place in the game for that +3 sword you had made for you. Some encounters will occur only when you have all 4 statues.
ASCORE
This is the site of the final battle. Be sure to stop by Silverymoon and get lots of Potions of Extra Healing. The Final Battle is a no rest battle in four parts.
Ascore is divided into the city and the Final Battle maze. It is worthwhile to explore the city first. There are some nice weapons (22) (23) (24) and a very important map of the Final Battle maze. (25) Remember that you are looking at a mirror image!
The Final Battle maze is behind the doors directly east of the main gate. (26) Once past the doors, the path leads only to the Final Battle maze. It is behind the second set of doors. This is one long continuous multi-part battle. If you guess correctly, it will only be a 4 part battle. One of the maps you found at location (25) is the map of the Final Battle maze. By the nature of the Final Battle, no coordinates are possible. The correct direction is always north. You know you are approaching the center pyramids as the battles will get tougher. If they remain easy, you went the wrong way. When you meet Vaalgamon himself, you are just an exit away from your goal.
To get through the maze, after all the enemies have been killed, just walk one character until that character has "fled" the battle scene in the direction you want to go. That will move your entire party to the next section of the maze and start the next battle. Before exiting, use the time to heal your party. This is when the Potions of Extra Healing should be used. Beware that trolls regenerate so after the troll battle, it may be better to exit immediately unless some characters are really badly wounded.
Finally there is a bug in the program. Characters who are unconscious at the end of the battle are automatically revived but due to the bug, they are still listed as Unconscious. The way to restore them to Okay is to fight a battle and kill the characters. Bandage as needed to keep them from dying and then cast Heal Wounds on them after the battle. This will restore them to Okay.
If you find the Final Battle too hard, there is an extremely easy way to win it. This method works only if you do not have an NPC such as Krevish with the party. Buy a Potion of Invisibility in Silverymoon for each character. Before entering the Final Battle maze, have each character drink their potion. When the battle begins, do NOT attack or cast any spells. Have one character more off the battle area. Keep doing this until you reach the center of the maze and trigger the end sequence. If you like, you can stop and fight Vaalgamon in the last battle area. With your characters uninjured and all your spells intact, this battle is not too difficult to win. This method works because your characters are invisible and cannot be attacked. The invisibility wears off ONLY if your characters attacks with a weapon or magic.
You can continue to play on but there is really not much to do. To prepare your characters for the sequel, go to a training hall. Unready all items and Remove the characters from the party. This will create a series of files in the Save directory with the character's name as file name on the PC version of the game. Save these files for the sequel.
OUTRIGHT ANSWERS
(1) At (10,5) is the hidden door that eventually leads to the Bane priest.
(2) At (2,0) is a hidden door that leads to Erek who is behind another hidden door at (8,1).
(3) At (0,8) is a hidden door to where Amanitas is located.
(4) Look at the door where you are imprisoned. You will spot a way out.
(5) There is loot in the room at (11,2).
(6) The base commander is in the room at (11,4). The way out is also located in this room.
(7) The secret door that eventually leads to where the statue is located is at (8,12).
(8) The statute is actually located in the room at (14,1).
(9) But you need to traverse the maze down to the door at (14,15) to get to the room at (14,1).
(10) The castillean at (15,9) has the armor and will give it to you if you rescue him.
(11) The ore is located at (1,0).
(12) The maidens are at (7,10).
(13) There is a secret door at (8,2) that leads to where the princess is located.
(14) The deciphered message is "Guard it at all cost. If threatened the guards will take it to the southwest corner of the castle. The statute will be taken from its vault through the south door down to the dock."
(15) The rooms at (14,13) are safe to rest.
(16) The oyturghs with the map are at (11,13).
(17) Depending on what you did or did not do on Utheraal the statue is at either (3,11) or (0,15).
(18) The exit from the arena is a hidden door at (7,0). The path out from there leads to the statue. You also recover the ones that were taken from you.
(19) A hidden door at (13,5) leads to the medusa's lair (13,13) and some hidden dwarves (12,8).
(20) The hidden door at (4,3) leads to Ceptienne's lair at (4,8); however, you need to trigger some fixed encounters with Ceptienne before you can find her so explore all the areas the unhidden doors lead to before going into this door.
(21) The fountain is at (13,9). You really want to keep the statues.
(22) At (8,15) is a Long Bow+2.
(23) At (0,1) is an Axe+2.
(24) In the mirror room located at (25) there is an Elven Long Sword+2. Its location is random in the room. You stumble across it while exploring the room.
(25) At (5,9) is a mirror giving the layout of the final battle maze. There are other mirrors in the room with maps in them of Ascore. Remember that the image is a MIRROR image of the actual map!
(26) The gate is at (9,8) The door at (12,15) leads to the final battle maze. You do not go through the door. Just stepping on this square triggers the final battle sequence. Fortunately you get a chance to back out.
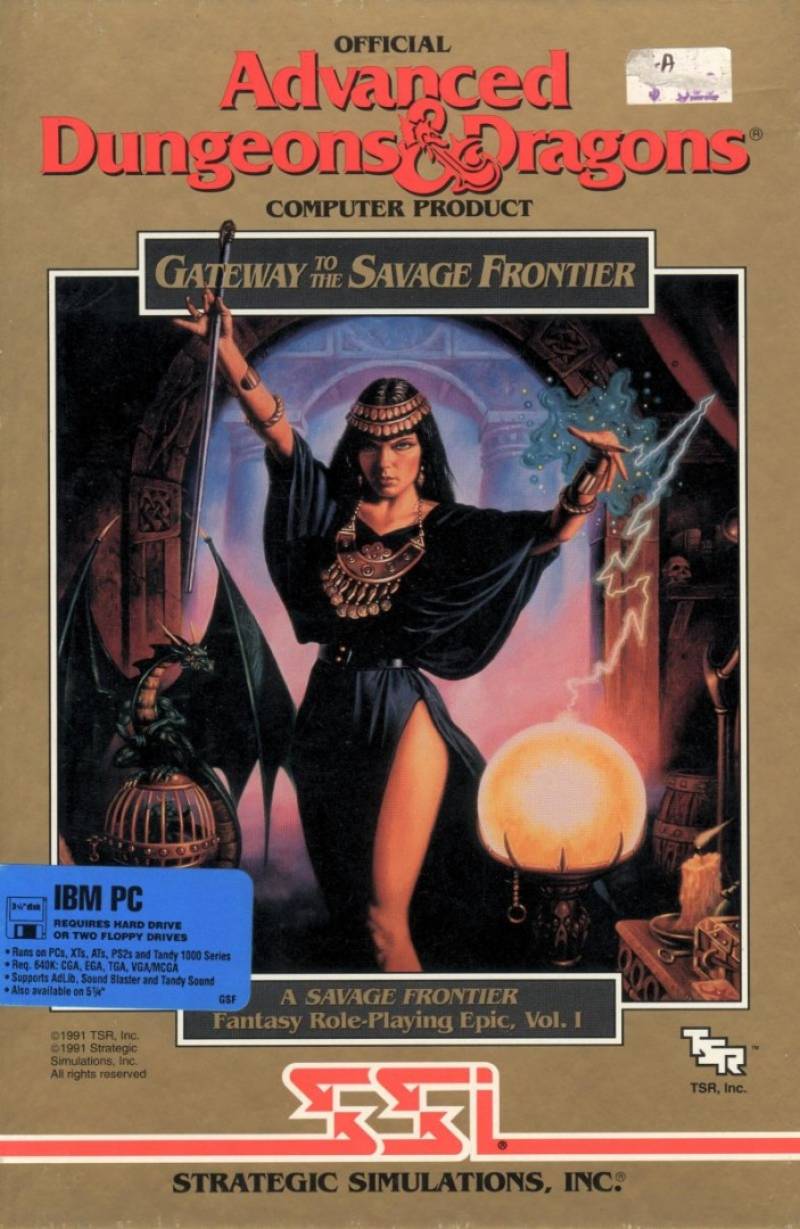
GATEWAY TO THE SAVAGE FRONTIER is published and distributed by SSI.


