Undubbing/Changing language in a ps2 game (Drakengard 2)

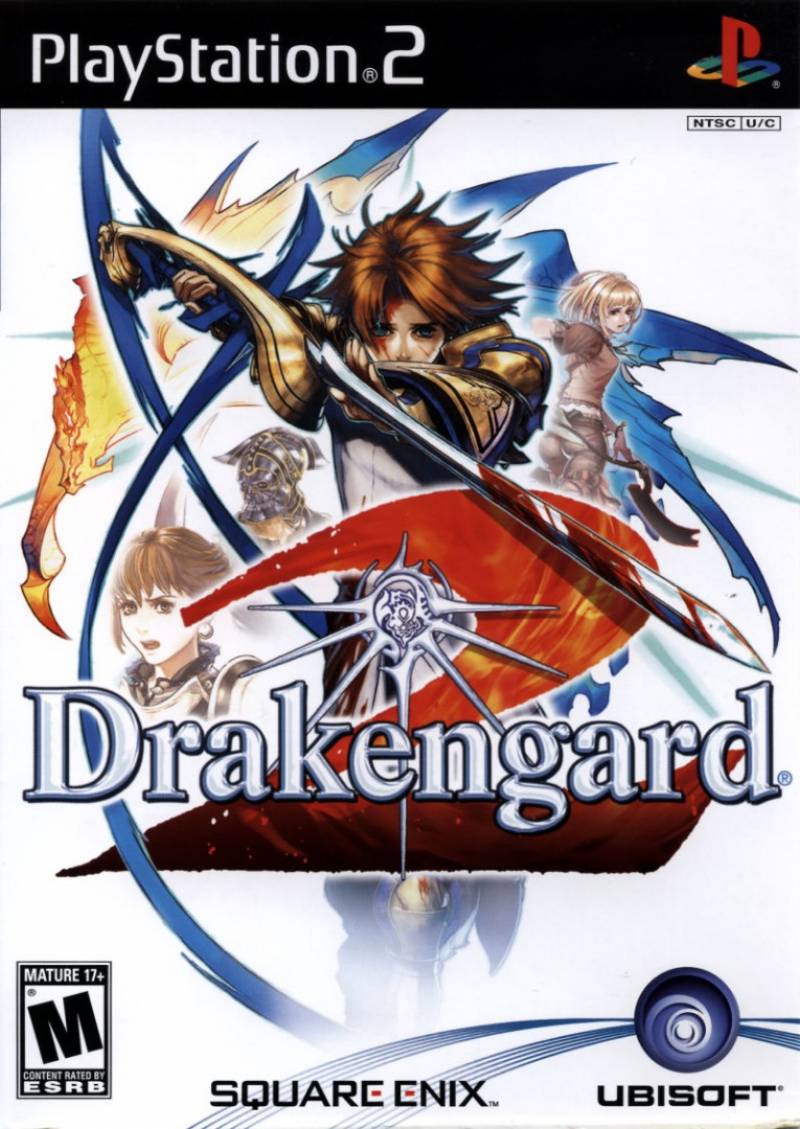
Undubbing/Changing language in a ps2 game (Drakengard 2) 2017-11-21 (iso format) by Theo1996.
Example used Drakengard 2
Files:
- Modules
PS2 modules. - D_BGM.BIN
Background music ,usually is not changed from jp versions. Sometimes it also has the sound for movie.bin - D_IMAGE.BIN
Textures, images etc rarely changed in cases of muh sexy video game chars. Quite difficult to change - D_MOVIE.BIN
Is just a video file often without sound or some space, to make space for each localisation-translation-text. Difficult to alter. - D_VOICE.BIN
Voices that are not in the movie and used in-game. Often you need to just replace this with JP one. *!!Change only this.!!* - SLES_537.94
Program not too usefull in undubbibng - SYSTEM.CNF
System info.
Often only some versions USA or EU can be fully undubbed for example PAL Drakengard 2 doesnt work with the replaced dub movie from ntsc.
Needs advanced hex editing seen in the USA ver as the movie voices at the start are slightly corrupted.
After replacing voice.bin you need to rebuild the iso. Do as is in the included guide by Corimo and http://jolimule.ifrance.com/rebuild.html http://johnnys-epitaph.com/ps2cd2dvd.html (for the DVDscanlite part, the rest is crap.
Checking file size of usa ,jp and EU is usefull to know what has changed.
You can also use a hex editor to copy paste the voices if simply replacing the files doesnt work.Requires a lot of work to find the actual sound parts without damaging ots replayability.
First thing: In this tutorial I will say when to Open programs and Close them. ONLY CLOSE THE PROGRAMS WHEN I SAY!
You dont need to install anything, all files are extracted and came with this tutorial!
If you just want to rebuild, Skip step 4,5,6,7
if you want to convert ps2 CD to DVD, Do all steps as shows in the tutorial.
1- Open IsoBuster << if it asks you to update press Yes.
2- File >> Open image file (now browse to your image file of your ps2 iso)
You will see a lot of files apearing on the right side of the screen, this are the files inside your ISO.
3- Select all files and Folders >> Right Click >> Extract Objects (Extract them to C:\ISO)
Now leave the ISOBUSTER WINDOW OPEN!
(The next step is very important in order to convert to DVD!)
4- open DVDScan37.exe (DVDSCANLITE)
Press File >> Open, and SELECT ONLY THE EXTRACTED FILES IN C:\ISO. DO NOT CLICK THE FOLDERS! You will need to do them seperatly!.
Do not panic if you get a popupbox, just press "NO" all the time!
Now patching is done, if you had any folders extracted in C:\ISO, do file>>Open , open the folder in C:\ISO, and select all files.
YOU MAY CLOSE DVDSCANLITE!!!
The next steps are needed in order to make the filesize of your extracted CD exeed 1,4GB!
5- Open Dummy.exe >> Browse (Now browse to C:\ISO and SAVE)
6- Make Filesize 1GB and click CREATE!
7- Rename the file you just created: dump.txt to: z.z
YOU MAY CLOSE Dummy.exe
8- Open DVDGen.exe >> Create new Project >> DVD-ROM Master Disc
9- Now go to your desktop and click on My Computer >> C:\ISO
10- NOW DRAG ALL FILES YOU SEE INTO DVDGEN WITH THE EXACT SAME ORDER AS SEEN IN ISOBUSTER!!!! (and for the last file select z.z!if you did step 5,6,7)
11- now Select the Volume Tab.
12- in Disc name you see 2 boxes: (look for the file in C:\ISO that looks like this: SLUS_212.02),
Type that filename in the box like this: SLUS (Box1) 21202 (Box2)
13- License Area: If your Filename was SLUS_XXX.XX = America if SLES-XXX.XX = PAL. Mine was SLUS_212.02 so i select AMERICA.
14- Volume: Enter that filename again. Mine was SLUS_212.02(WITHOUT THE DOT(.)) SMALL EDIT BY Theo1996
15- Select File >> Export iml File and save it to C:\test.
YOU MAY CLOSE CDVDGEN.exe now.
YOU MAY CLOSE ISOBUSTER.exe now.
16- Open Apache.exe sellect File >> import IML File and click the iml file you just created.( Mine was saved in C:\test)
17- Press File >> Build ISO and wait for the progressbar at the bottom to reach 100%.
YOU MAY CLOSE Apache.exe
Congratulations, You just rebuild your ISO!
Now burn the game with your favorite DVD Burner (mine is imgburn). Or test Your ISO with PCSX2 emulator.
Credits:
http://jolimule.ifrance.com/rebuild.html
http://johnnys-epitaph.com/ps2cd2dvd.html (for the DVDscanlite part, the rest is crap)
and Corimo for making this tutorial.


