How To: Scribus - Part 2
Last month we created a new document, added some filler text then went on to add columns and also link the columns together to have our text automatically flow from one column to the next. This month we will focus on adding images to our document.


Written by Ronnie Tucker
First the technical bit: JPG images use compression to keep the file size small. While this may seem like a good idea at first, it comes at a cost: your images may show "artifacts." Artifacts are small squares you sometimes see in images -- mainly on web pages which often use highly compressed images - and while this may look good on a web page, it looks bad in a document, especially if it's to be professionally printed. GIF images, on the other hand, have a limited colour palette. While this may be good for a two-colour logo it's not so good when you try and drop a full-colour image to 256 colours, so I suggest you use PNG images. Do not fall into the trap of simply converting a bad quality JPG/GIF to a PNG; this won't repair the image. Always start with the best-quality image you can find.
So, without further ado, let's load up our text document from last month.
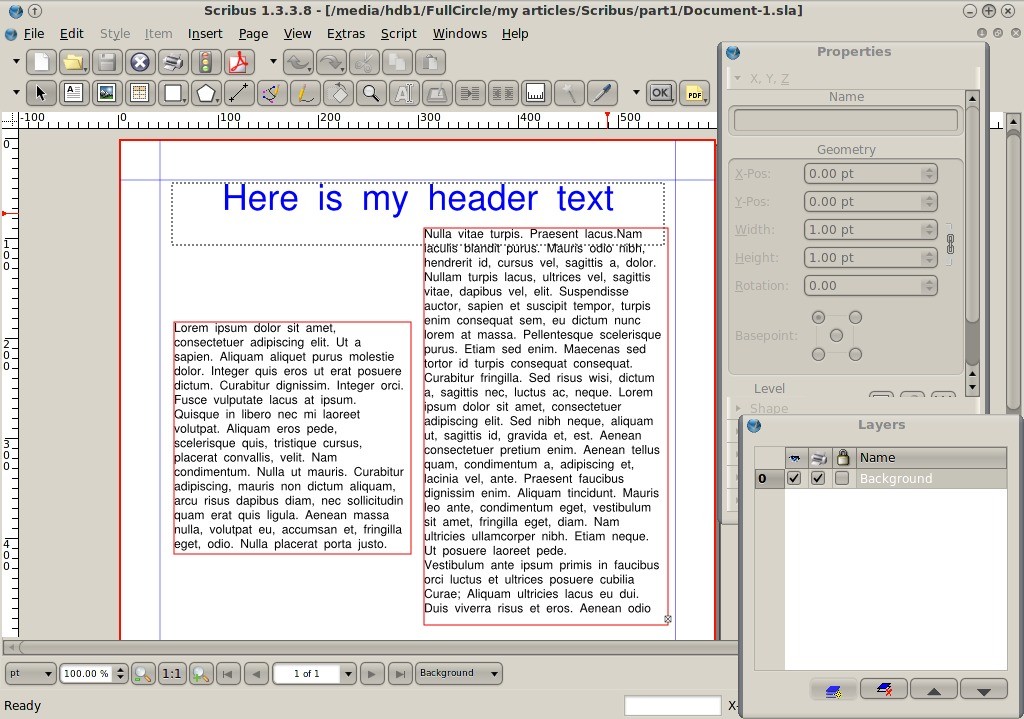

To place an image into the document we click the Insert Image Frame button:


And draw out a box, just like we did last month for a text box:

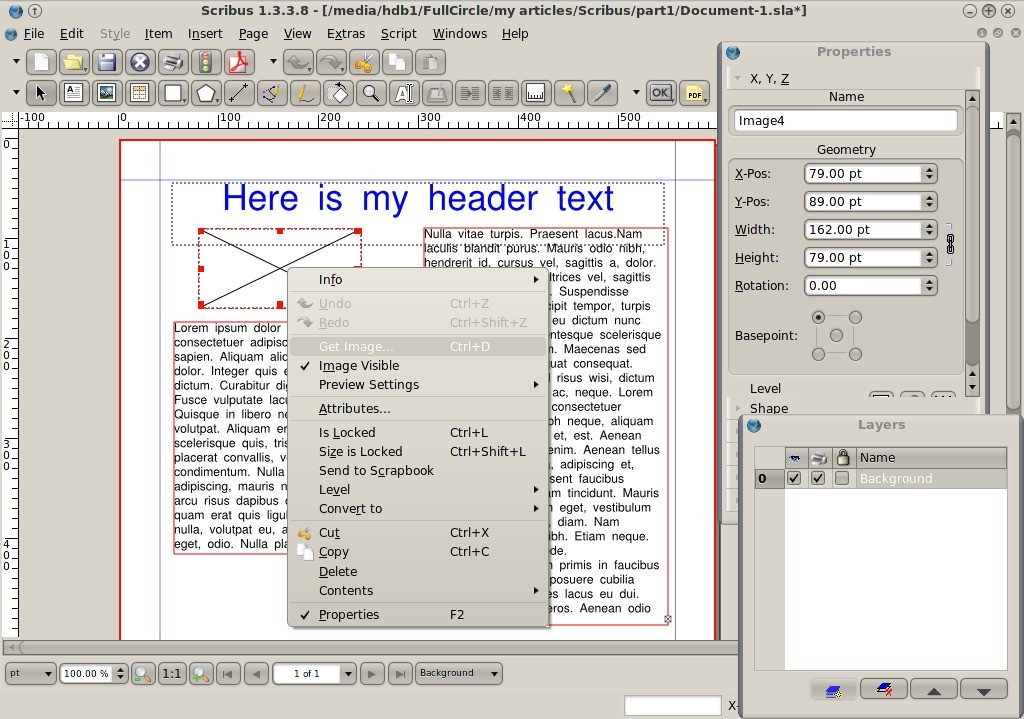
To chose an image, right click on the image frame and choose Get Image:

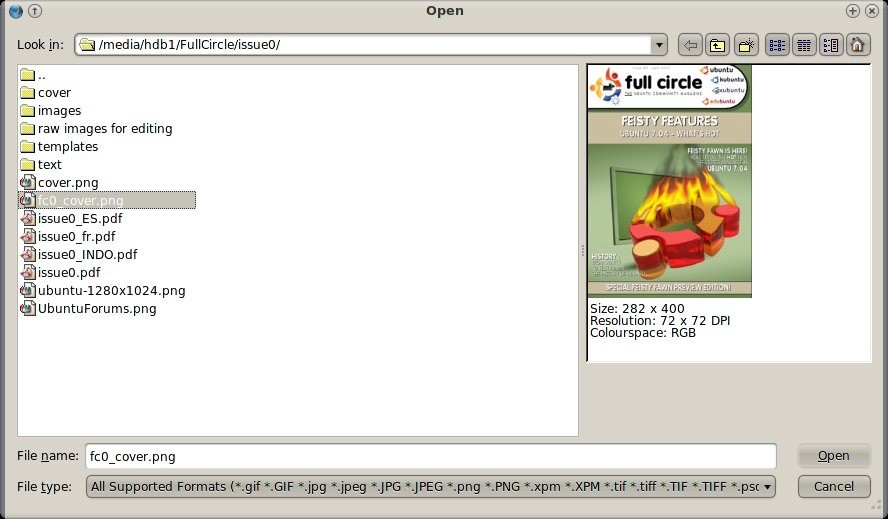
A file dialogue box will appear and from there you choose which image you want to insert into the image frame and click the Open button:

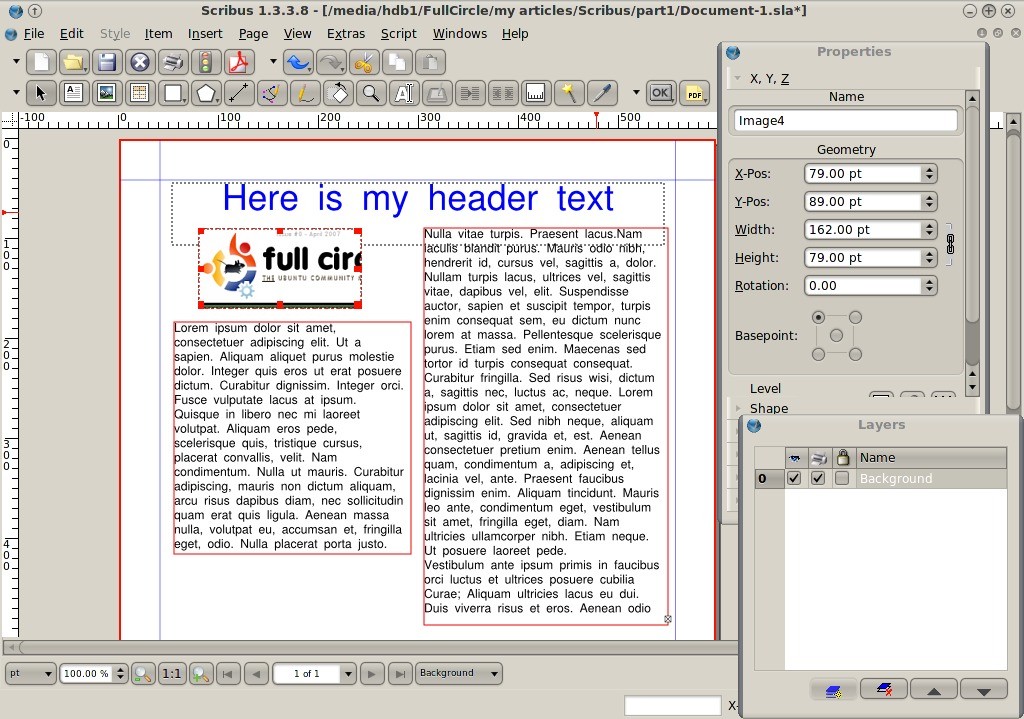

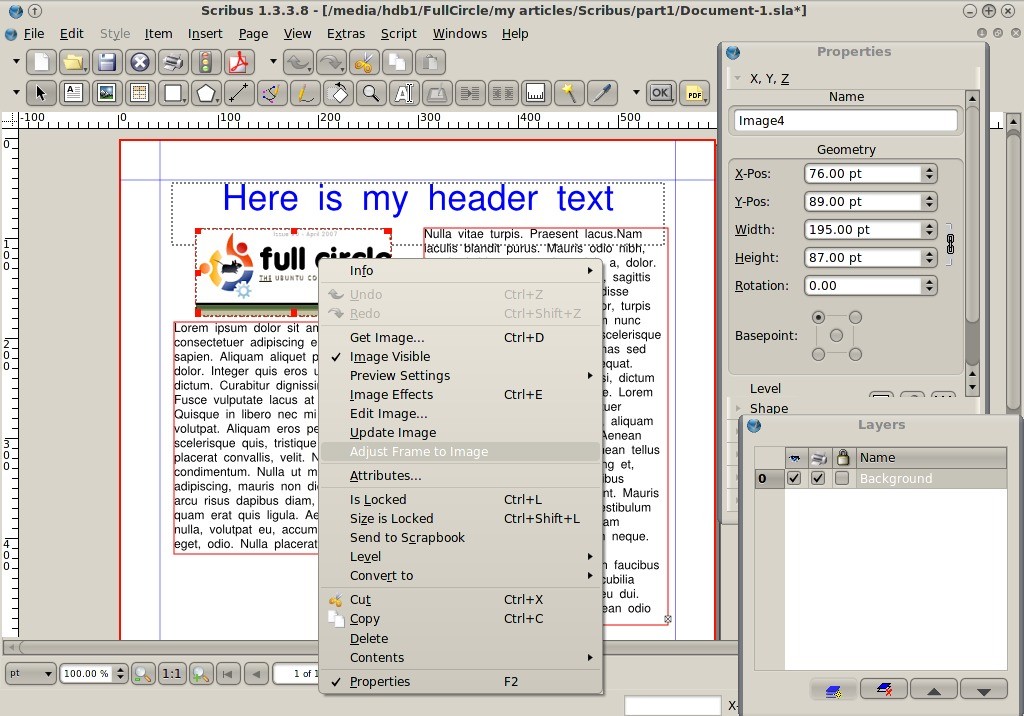
OK, there's a problem... as you can see from the screen above, the image is badly cropped in that we can only see a small portion of the image. We need to make a decision here. Do we make the image frame the same size as the original image? Or do we resize the image to the image frame? For demonstration purposes we'll do both.
First, to make the image frame the same size as the original image we could drag out the image frame box. Easier still is to right click on the image frame and choose Adjust Frame to Image:

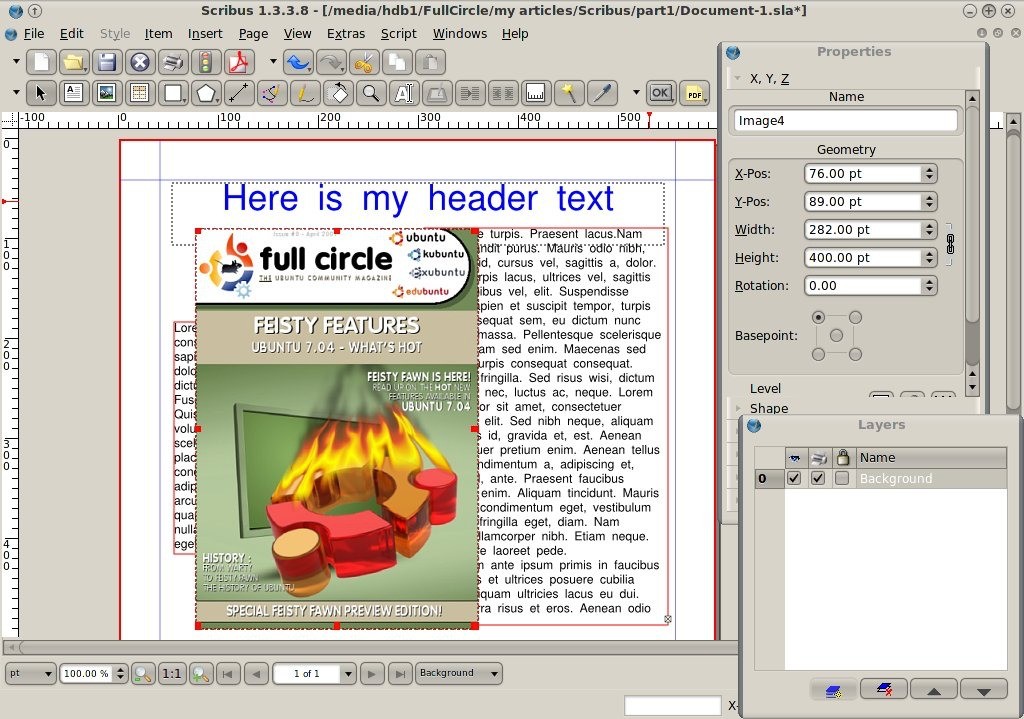

But now the image is too big, time to reduce its size. In the Properties window click the Image tab.
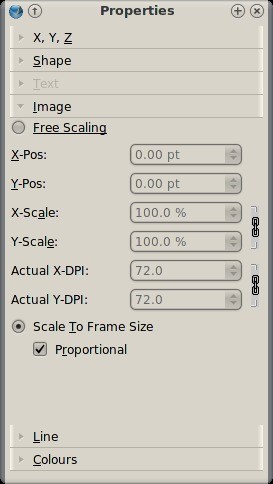

This shows the position and size of the image, but let's not guess sizes. Let's resize in the document itself. Select the Scale to Frame Size option. This will allow us to resize the image by resizing the image frame. Be sure to have Proportional ticked as this will stop us from stretching the image out of proportion.
Click the image frame and resize it.
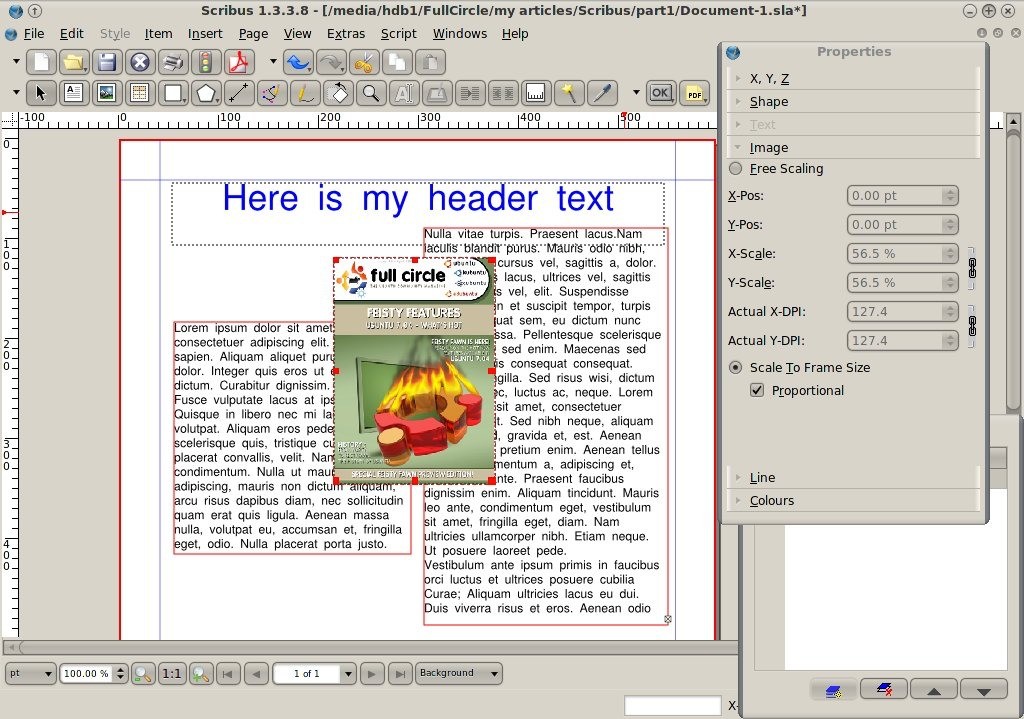

And of course you can move the image frame to position the image where you please.
The only problem we have now is the image obscuring the text behind it. Solution: have the text flow around the image.
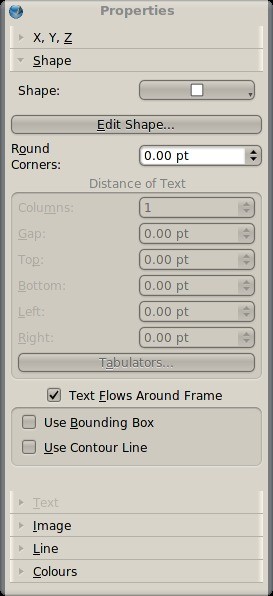
To do this, select the image frame and in your Properties window, select the Shape tab.
The Shape tab is new to us but all we want to do for now is select the Text Flows Around Frame option.

There we go! The image now displaces the text around it's edges! Try moving the image frame on the page and you'll see the text update itself automatically. Just like magic!


The only problem we're still left with is that the text is a bit too close to the right side of the image. This is easily fixed.
With the image frame still selected and in the Shape tab (in the Properties window) we select Use Contour Line. Next click Edit Shape and a new window will appear.
Don't panic! We aren't going to use most of this window, but notice that your image frame now has a blue outline. In this new window, tick the Edit Contour option, our blue outline now has a blue blob on either corner, left click and drag those blue blobs, you'll see the contour line move and your text with it. Play around with this contour line to get the text to your liking.
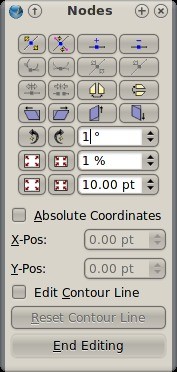

When you're done, click the Edit Contour option again to turn it off and click End Editing to close that window.


And that's pretty much all you need to know about images!
Next month we'll look at text. We really don't want to have to select paragraphs of text and apply a font type or size over and over again, so we can create Paragraph styles, but that's for next month.