How To: Scribus Part 6
This month we're going to discuss Templates. Templates are crucial to a good layout. Your Template will lie behind your content and auto-generate page numbers. It is essential to plan your layout carefully because all your pages need to work together to form a single magazine, not look like they've all come from different magazines.


Written by Ronnie Tucker
First of all, let's add a page to our current page. On the main menu, click Page > Insert
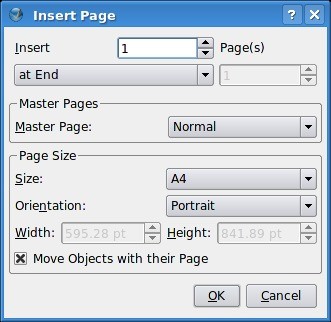

Here is where you can insert a single, or several, pages and insert them before or after a certain page or just insert them at the end. Here, I'm choosing to insert two pages at the end. Don't worry about the Master Pages bit, we're going to create those Master Pages soon enough. Size and orientation usually never need to be touched unless you're creating a publication with different sized pages.

So now we have three pages, but wouldn't it be better if we had them side by side like having a real magazine lying open? Well, we can but just remember that page one is the cover and will always be by itself but pages two and three will be side by side.
In the main menu, click File > Document Setup


This is where the settings for the entire document are stored, from the items down the left side of the window you can fill in author information, set guides, default fonts and all that other fun stuff. For now though, choose Double Sided in the Document Layout box and below that the drop down menu should say that First Page is : Right Side, this means that page one will be on the right side so page two will be a left page and page three will be a right side page, in other words: what most left to right readers will be used to. Now click OK.
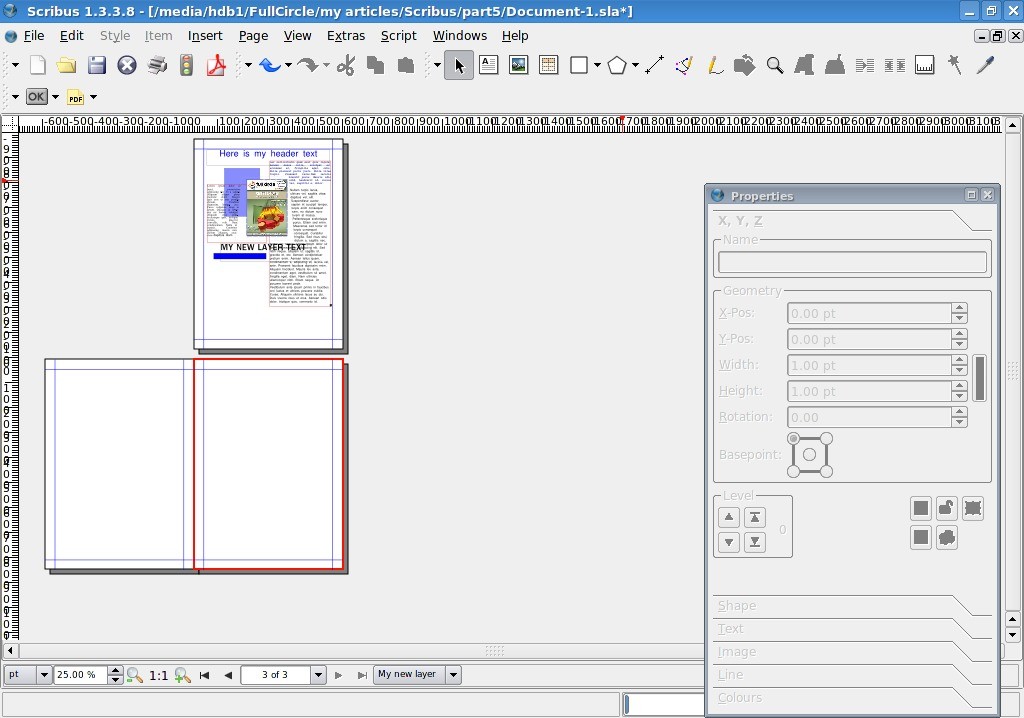

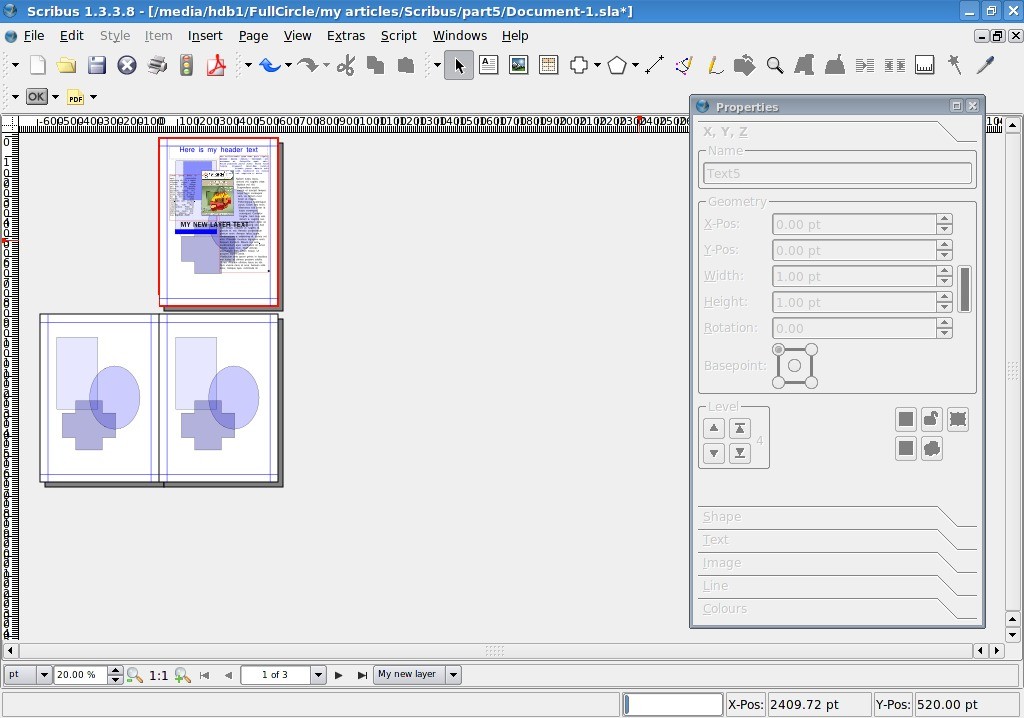
I've zoomed out in the above screen but you can see that page one is the cover, the magazine sitting closed, and pages two and three are side by side just like a magazine being opened. Why? Because your template can have a left page and a right page so you can make a nice layout that could span across two pages.
But let's get to making template pages. In the main menu, click Edit > Master Pages.
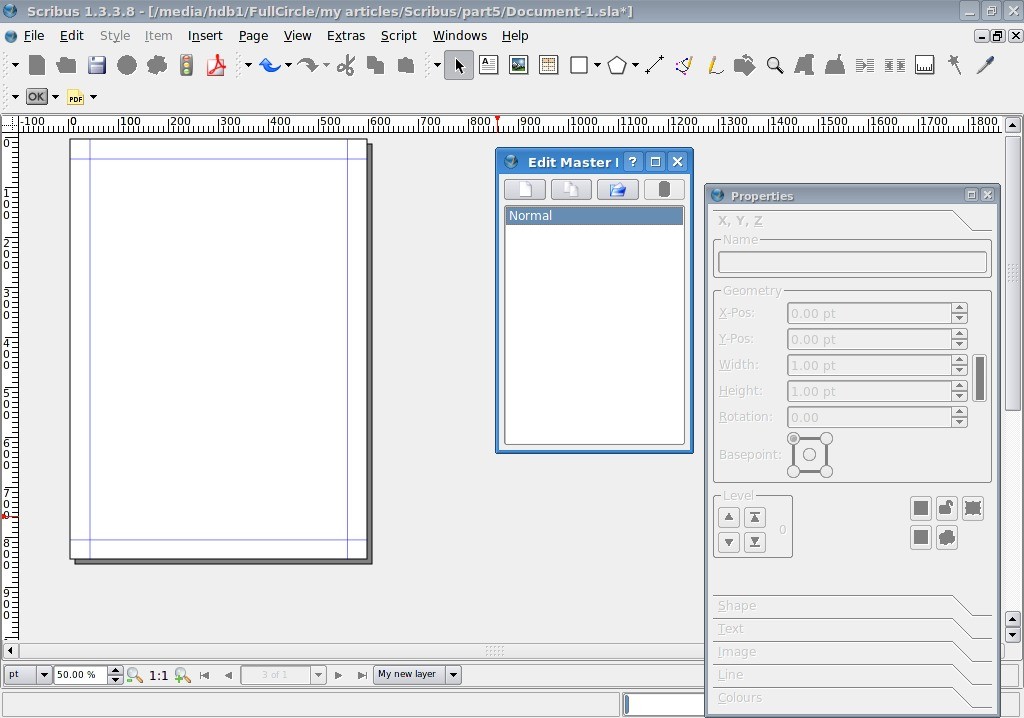

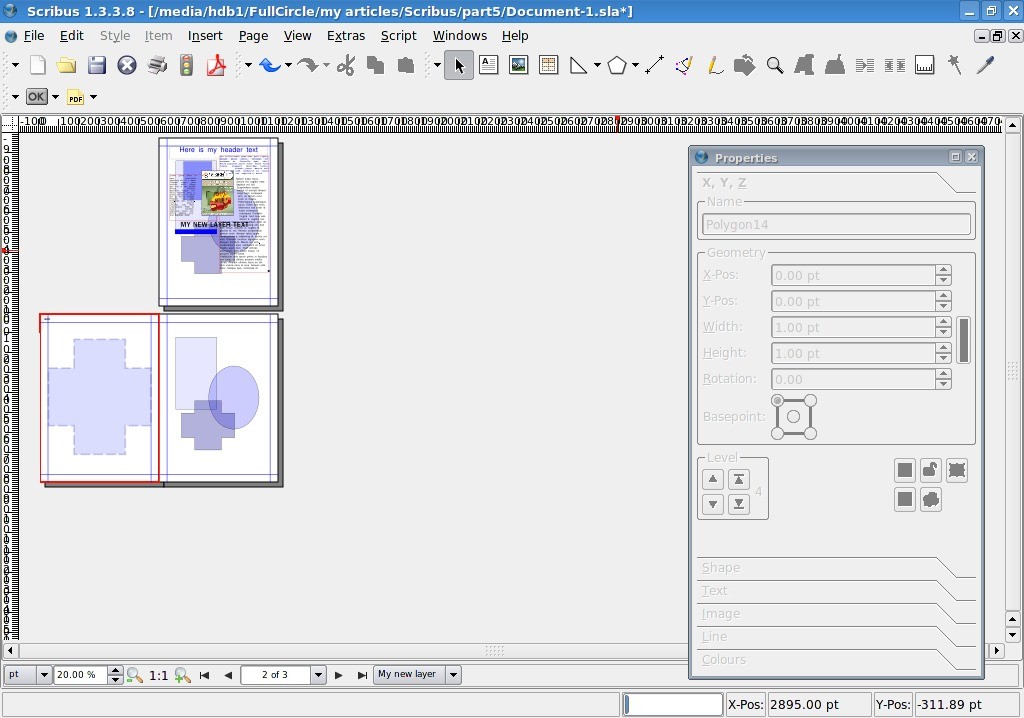
The extra little window that popped up is your list of Master Pages (aka: Templates). For now you only have the one, called Normal, so we'll edit that for now. Now this is important: you are not editing any text or images of content. You're only editing things that are going to decorate the page which are not content, you'll see what I mean in a moment. For now let's just add some shapes, fade them and see what happens.
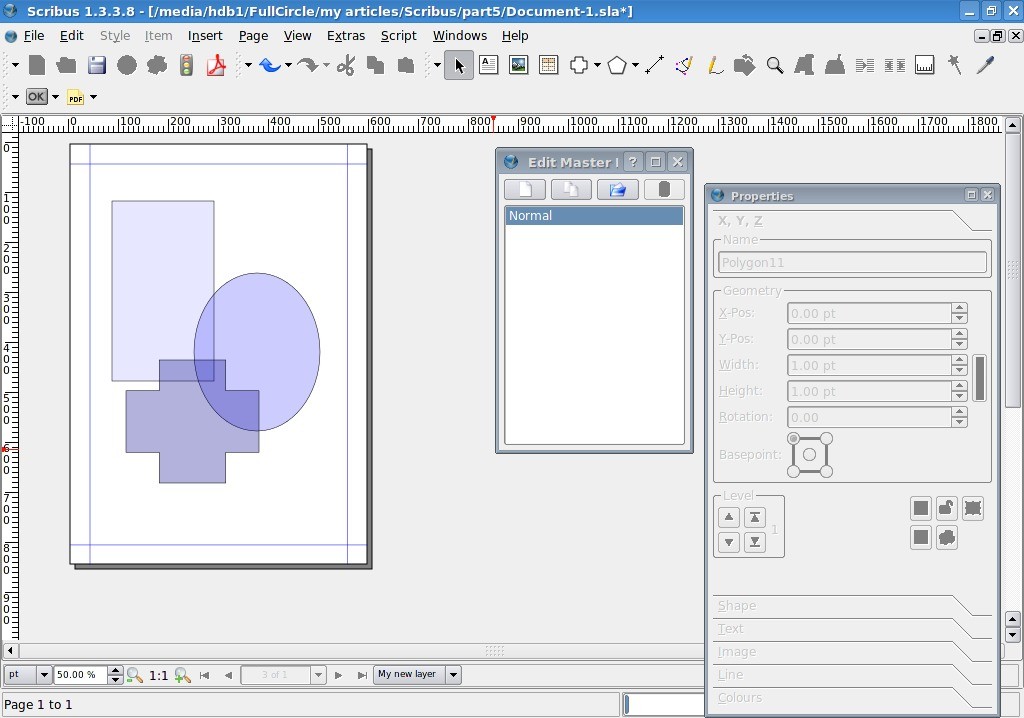

So I've created some shapes and made them transparent. So let's see what happens when we return to normal content editing mode. To return to content editing simply close the Edit Master Pages window.

As expected, the Normal Master Page applies to all page in the publication so if you try and move those shapes around, you'll see you can't, they're locked in place and only editable in the Master Pages section of Scribus. Nifty!
Let's create left and right Master Pages to show you how to apply them. Again, we click Edit > Master Pages, now in the Master Pages window click the top left button, looks like a single sheet of paper, this will create a new Master Page layout.
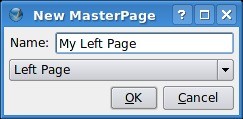

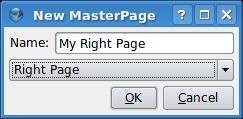
I'm calling mine My Left Page, and in the drop down menu below the name it says Left Page. Make sure this matches what your creating, otherwise the left page you create will end up on the right pages. If that happens just edit that drop down menu to fix things.
So I've created a large shape for my left page layout, for my right, I just create another Master Page but this time:
I make sure that my drop down menu says Right Page.

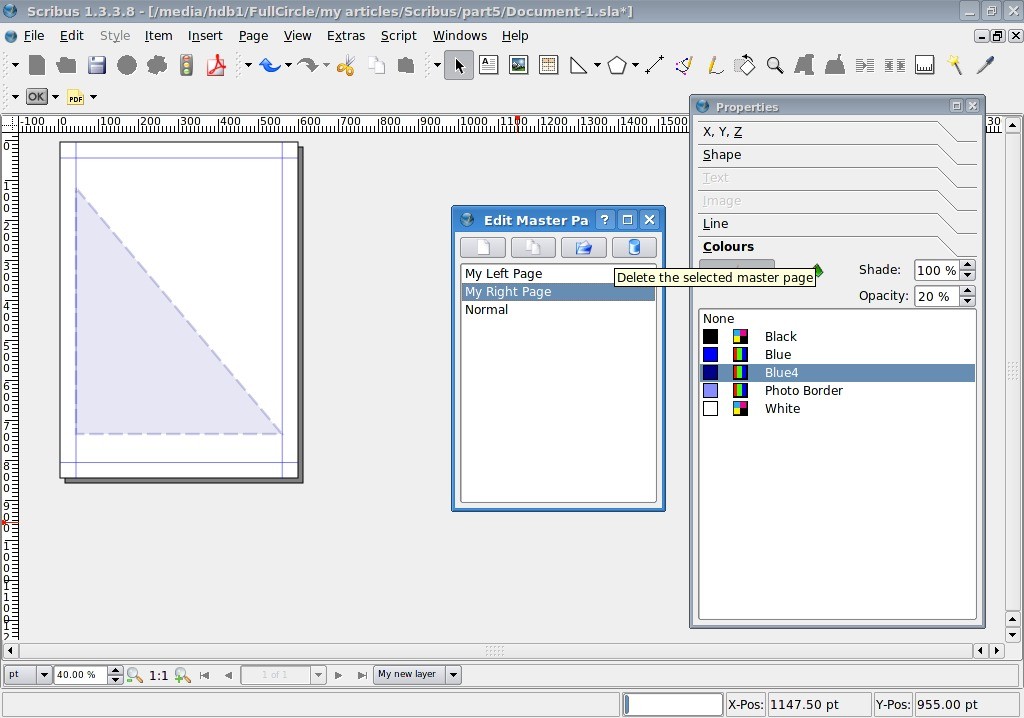

Although the page has gone blank, don't panic. If you click the My Left Page you'll see that your left page is indeed still there, safe and sound. So I'll create my right page now.
And again close the Edit Master Pages window to go back to content editing mode.
To apply a Master Page to a document page, simply right click on the page and choose Apply Master Page
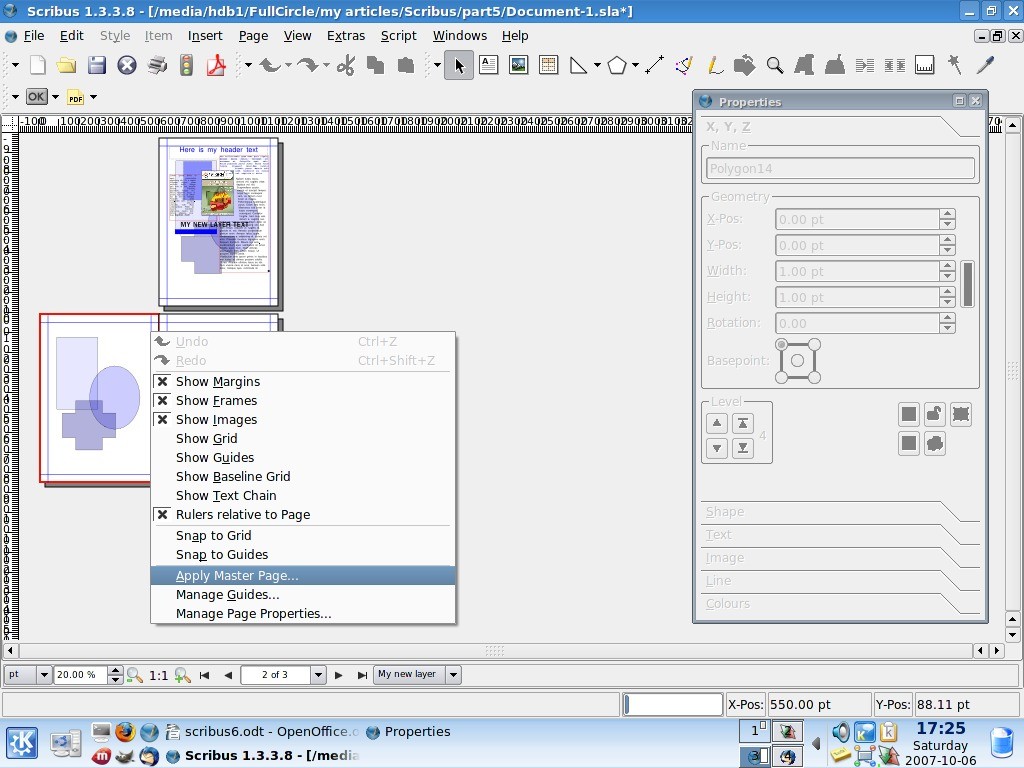

Notice at the top of the window is where we choose a Master Page to apply, I'll apply my left page here and if my document had many pages then I could choose to apply it to all even pages, since my left page here is page two, an even page.
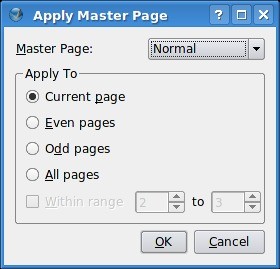

And click OK.

Job done! Do the same for page three and we're almost there. Now remember: you can be as elaborate as you like with your layout. I've only used a single simple shape per page but you can have faded images on there, nice colorful boxes and what not so be creative. Just remember that your text will have to go on top of this template so make sure you won't have black text on a dark piece of background, there's nothing worse!
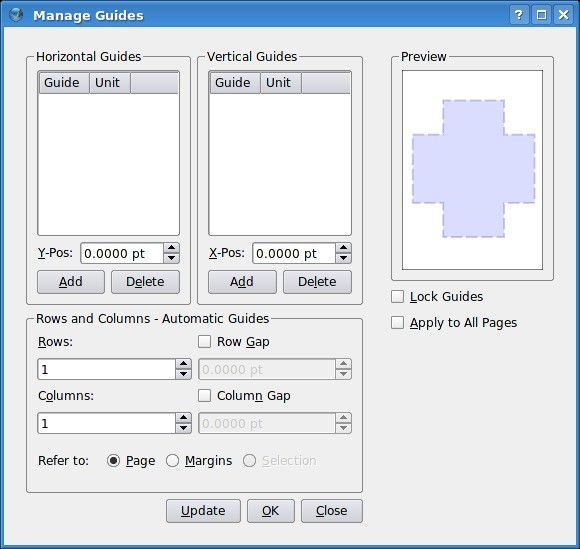
One more thing your Master Pages will need is guides. Guidelines essentially. These can change from Master Page to Master Page but it's usually best to choose one versatile guide set up and stick with it. If you want to do this it's best that you put your guides on one Master Page then duplicate the Master Page, by clicking the little button that looks like two sheets of paper, then add your left and right designs. Here I'll add some guides to my left page. First we go back in to Edit > Master Pages then right click on the page and choose Manage Guides.
Here we set up guidelines which we can snap to which can help us align text, images and other things. I'll set up a three column page, like we do with Full Circle.

In the bottom half of the window I click to have three columns, then I tick Column Gap and have a value of 30 in there. So I could use that for my text, but I'd like a horizontal line across the page, roughly a third of the way down for my header stuff. Easy done, we just click Add where it says Horizontal Guides, give it a value of 200 and we're almost done.
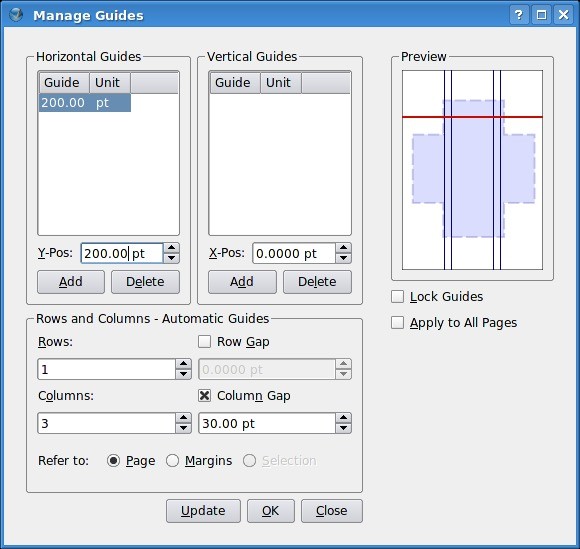

One last thing to do though is to tick the box on the right to Lock Guides and, if need be, Apply To All Pages. I'm done, so I click OK.
But where are my guides? Well sometimes they are turned off. Simply go to the main menu and click View > Show Guides. If you want your items to snap, or jump and align to, your guides then click Page > Snap To Guides.


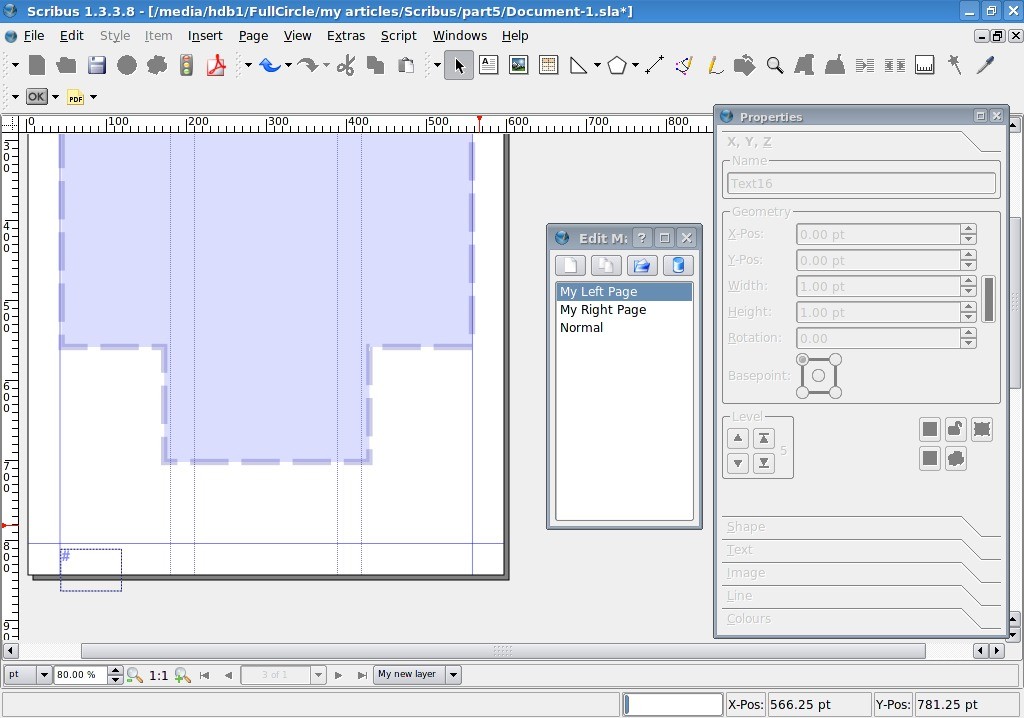
Now, lastly, the all important page numbers. This is easy. Go in to Edit Master Pages again and click on which page you'd like to have a number. I'll put one on my left page. Click the Insert Text Frame button – just as though you were putting content on a page – and again as we did before, double click the text box to add text but, rather than type in text, go to the main menu and click Insert > Character > Page Number and you'll see a hash symbol (#) appear in your text box. That's fine.
TIP: If you intend to have ten or more pages then make sure you do that insert piece twice to get two hash (#) symbols.
Don't forget to format the page number too, give it color and size. Now close the Edit Master Pages window. Scroll down and there you have it, one page number. Wherever that Master Page is used it will auto-generate the page number. Put one on your right page and you'll see.

Be creative with your Master Pages but also be aware that when people view a PDF they can usually over ride your double page setting and view the document page by page so don't rely on a double page layout to make your magazine look flashy, a lot of times the user will view page by page, certainly on slower machines.
Next month we'll move on to linking where you can link internally, where a user could click on an item in the contents page of your document and jump to that page, or external links, where the person could click on a link and be taken to a web page.