How To: Scribus - Part 1
By the end of this series of Scribus tutorials you'll be able to create a full-fledged publication. Whether it be a colour booklet or a black and white newsletter, the basics are the same. So first we need to learn those basics! As I write this, the latest version in the Ubuntu repositories is 1.3.3.8 and is named scribus-ng, that is exactly what i'll be using in these tutorials.


Written by Ronnie Tucker
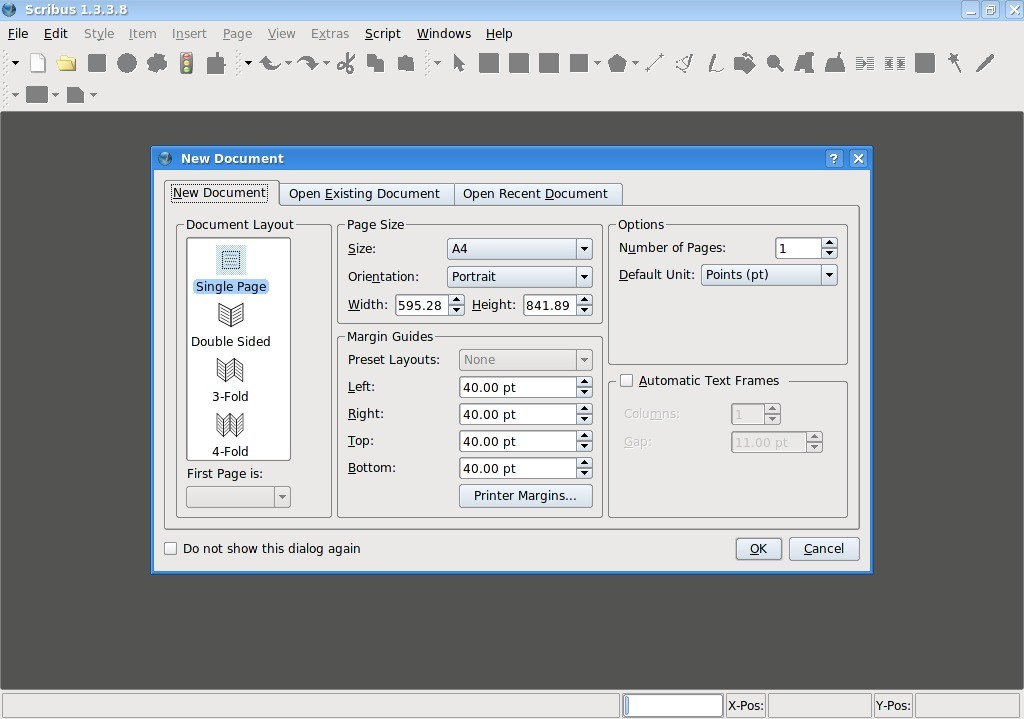
Here we either start a new document or open a previous one. In this first part of the series we'll just be playing around with the most widely used options so we have no need (yet!) to be picky here, just keep the defaults by clicking OK

This is our blank page, ready to be edited.
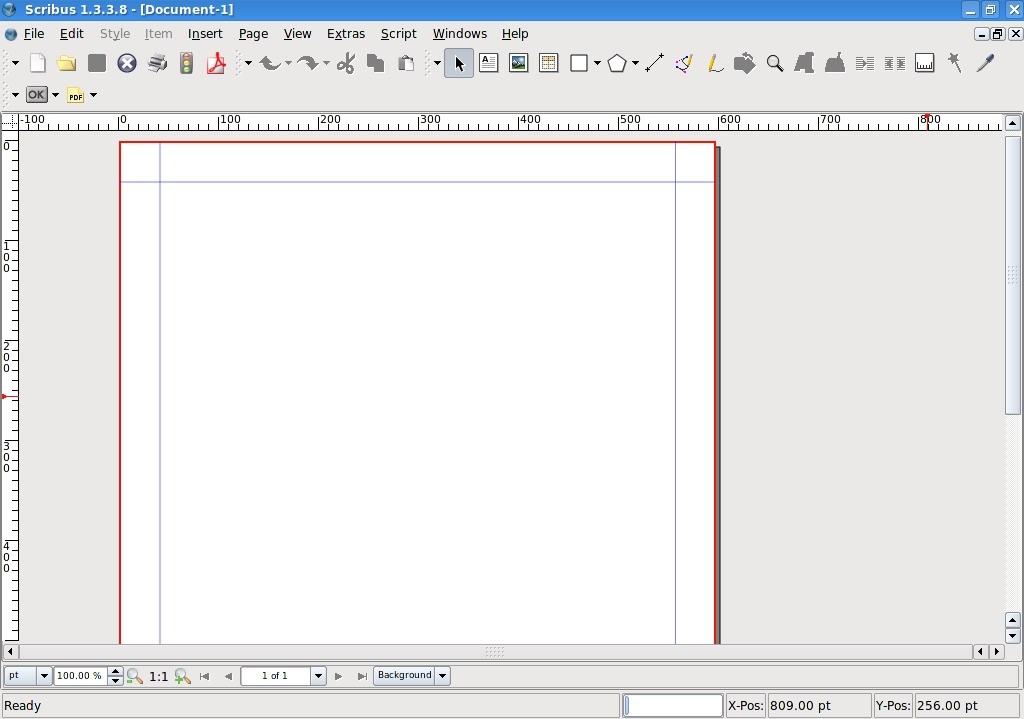

The red outline is the very edge of the page. Anything outside that red border will not be printed. The blue lines warn you that should you put anything outside the blue lines (ie: between the blue lines and the red outline) you run the risk of it either being chopped off at the printers or that your printer may not be able to print anything in that area. For now, just think of them as the borders you'd see on a lined A4 writing pad.
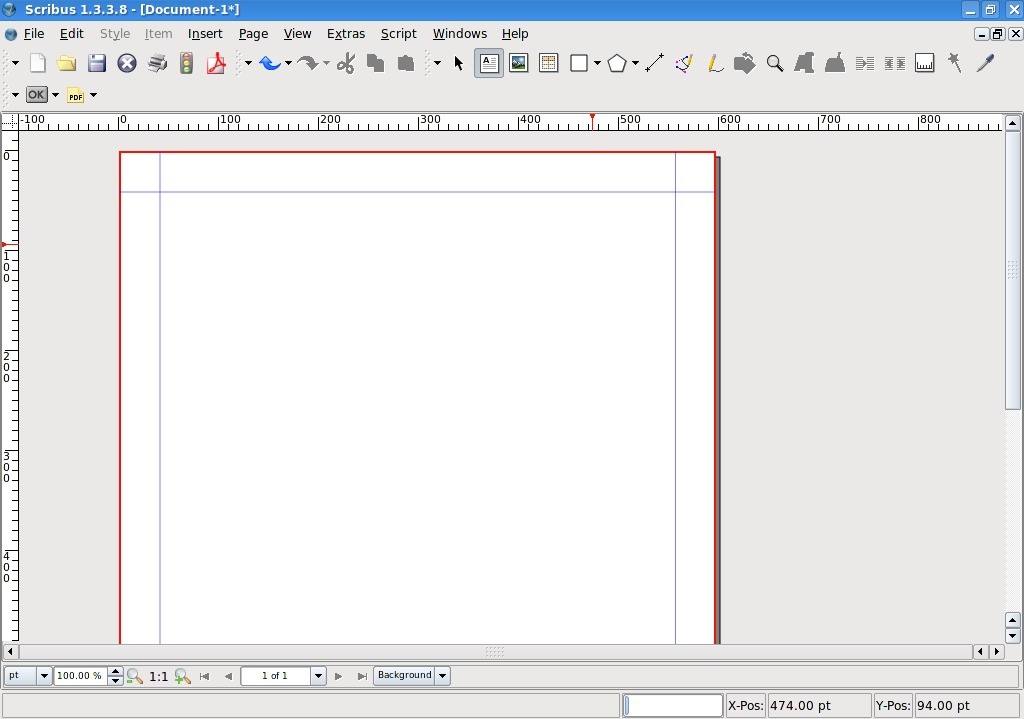

So lets get started. First thing you need on a page is some nice header text, so click the Insert Text Frame button:
Your pointer will change to a small page with a cross symbol. What we need to do here is hold down the left mouse button and draw a box where we want the text to go. When your happy with the size and shape of the box, release the left mouse button.
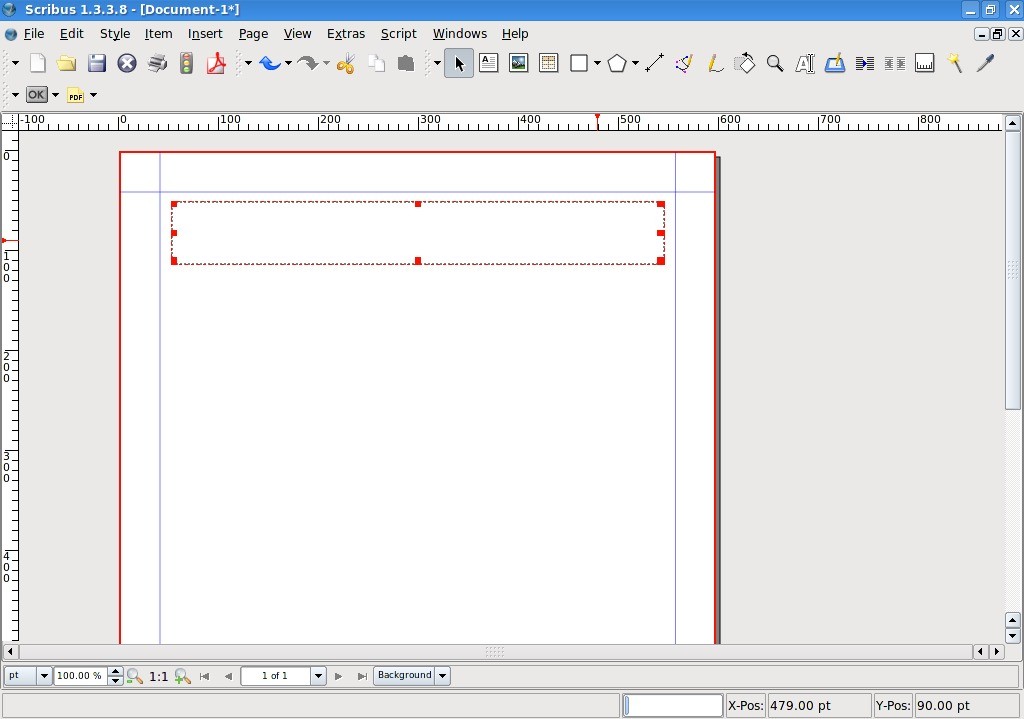

Thats my box drawn out but where's the text?


Double left click inside the text box to add/edit text. Single left click outside the page to stop editing text.

Lets say we want to move the text. Easy, just click on the pointer icon at the top of the screen :


... then, with your pointer over the text box, which will change to a grabbing hand icon, hold down the left button and move the mouse! To release the text, release the mouse button.
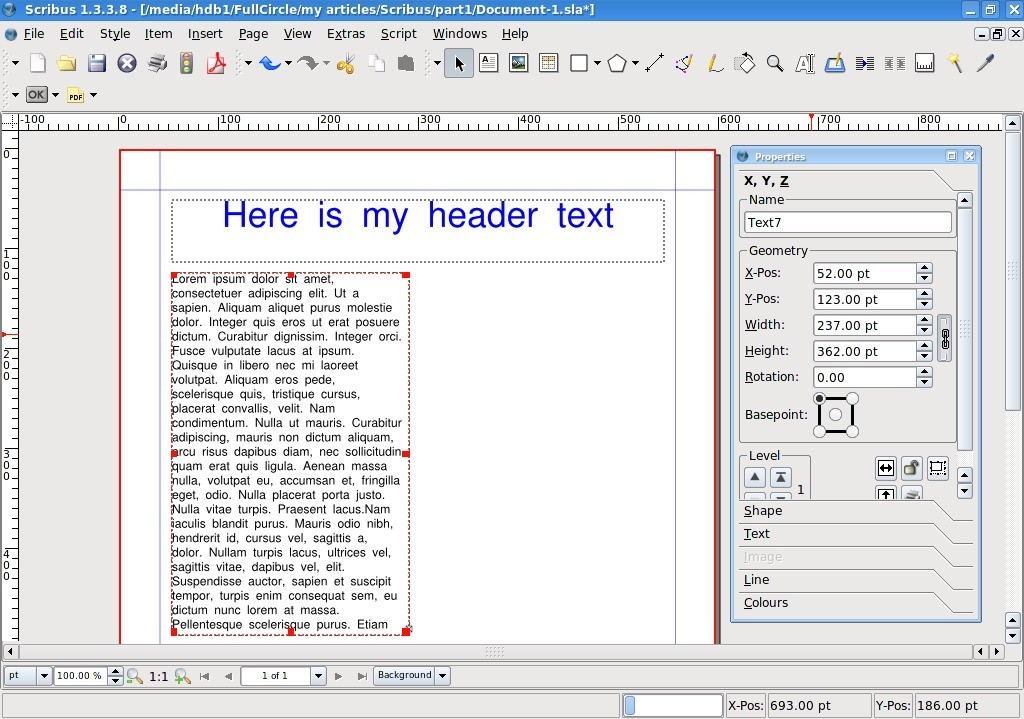
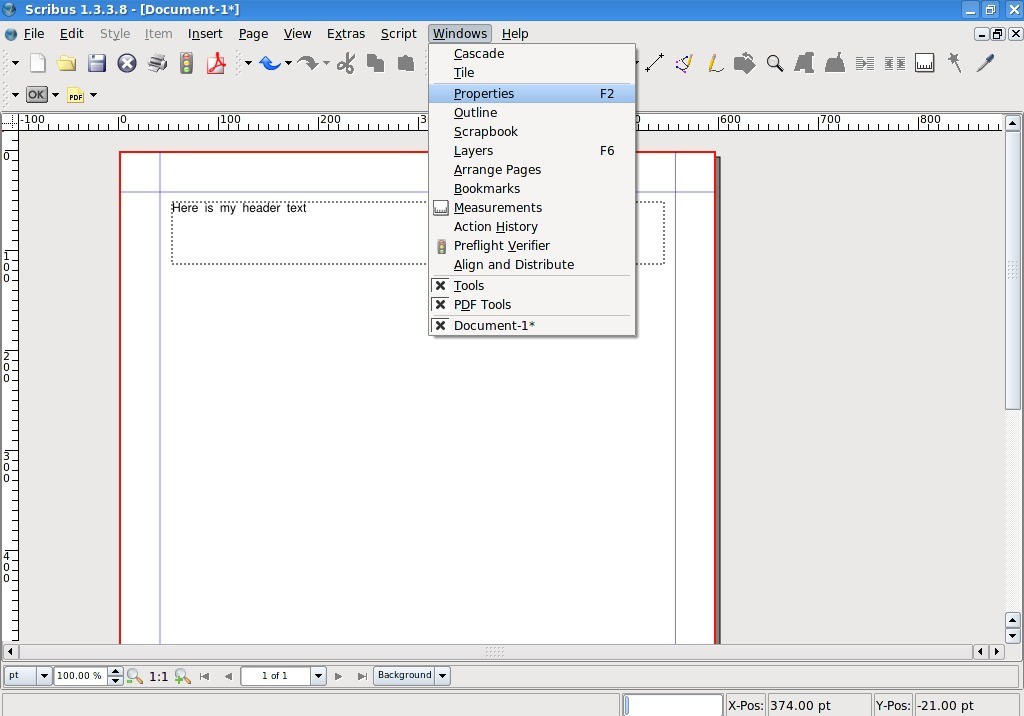
But our text is a bit small. We need to open the Properties window to gain access to the text box properties. This will let us alter the size and colour of the text. So, go to the Windows menu and click Properties...
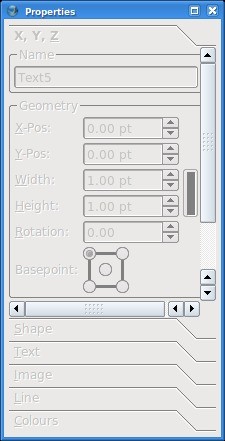

This is our Properties window. Everything is greyed out since we've not selected anything. From here on in, whenever we select something on our page, tabs will be highlighted in the Properties window to let us know we can edit settings here.
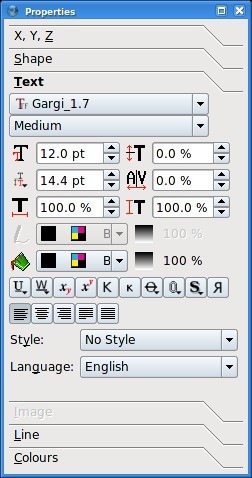

Lets enlarge the text size and alter its colour. Single left click on the header text box. You'll see the Properties box spring to life. Click the Text tab in the Properties window.

Now we're in business! Lets play around with a few of these options to get you familiar with editing text.
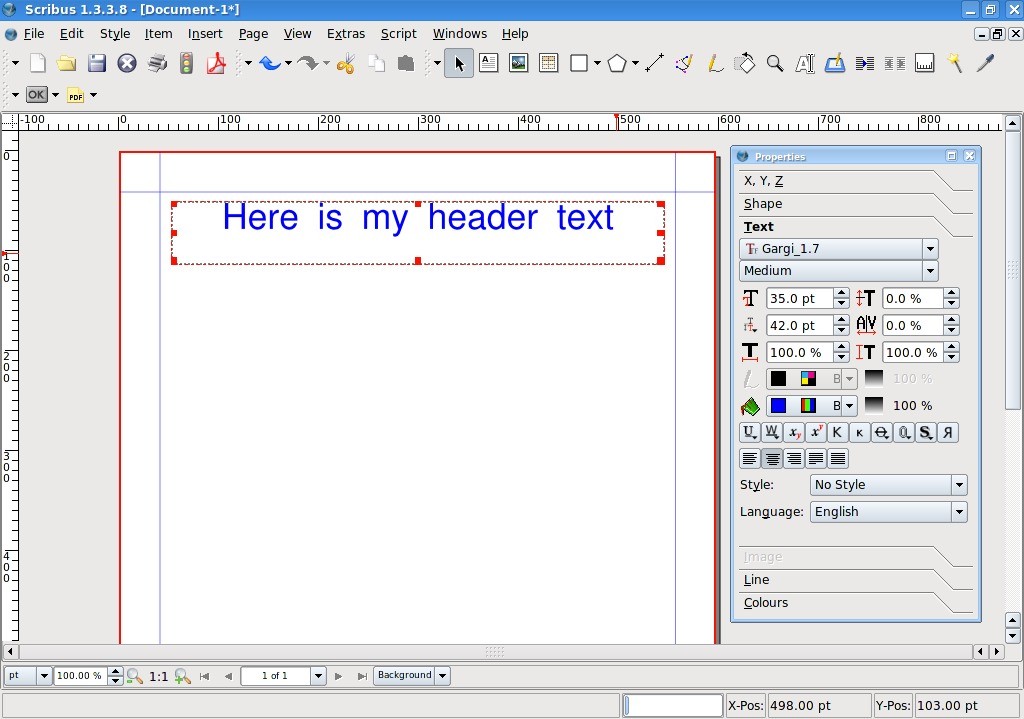
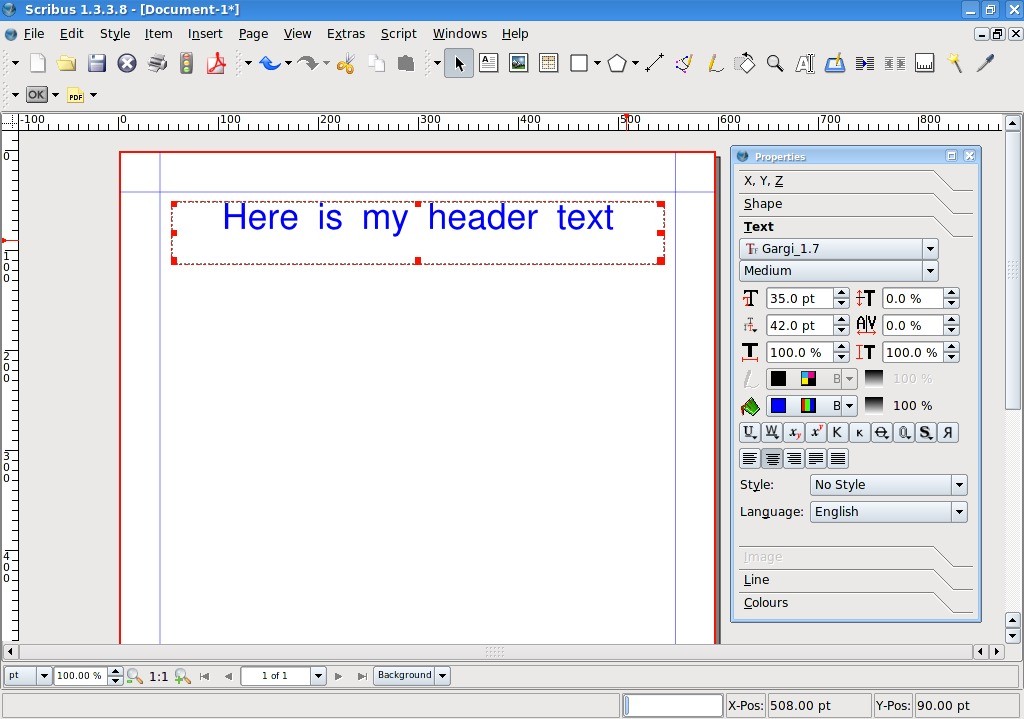
First enlarge the text by repeatedly left clicking on the up arrow beside Font Size (or enter a size value if you want).


Next, lets center the text within the box. Click the Align Text Center button.


Looking good! Still a bit plain though, lets put a splash of colour in there. Left click beside the paint bucket, scroll up/down through the colours and left click on the colour you like.

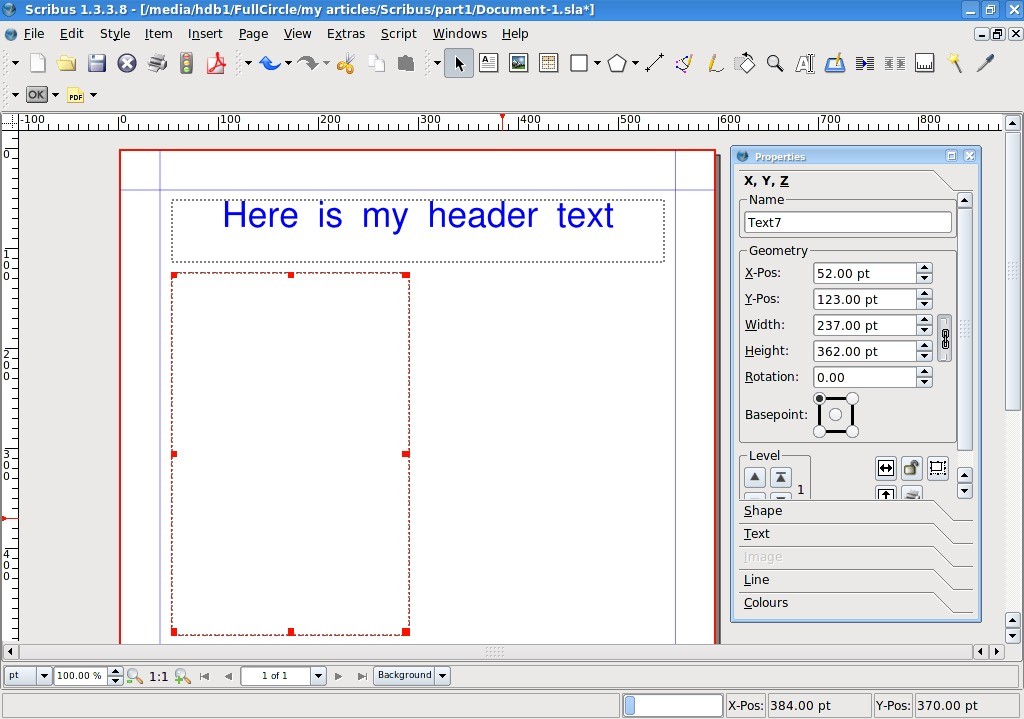
So we've got a header, we need actual content text now. So drag out another text box but this time make it half the width of the page and quite tall :

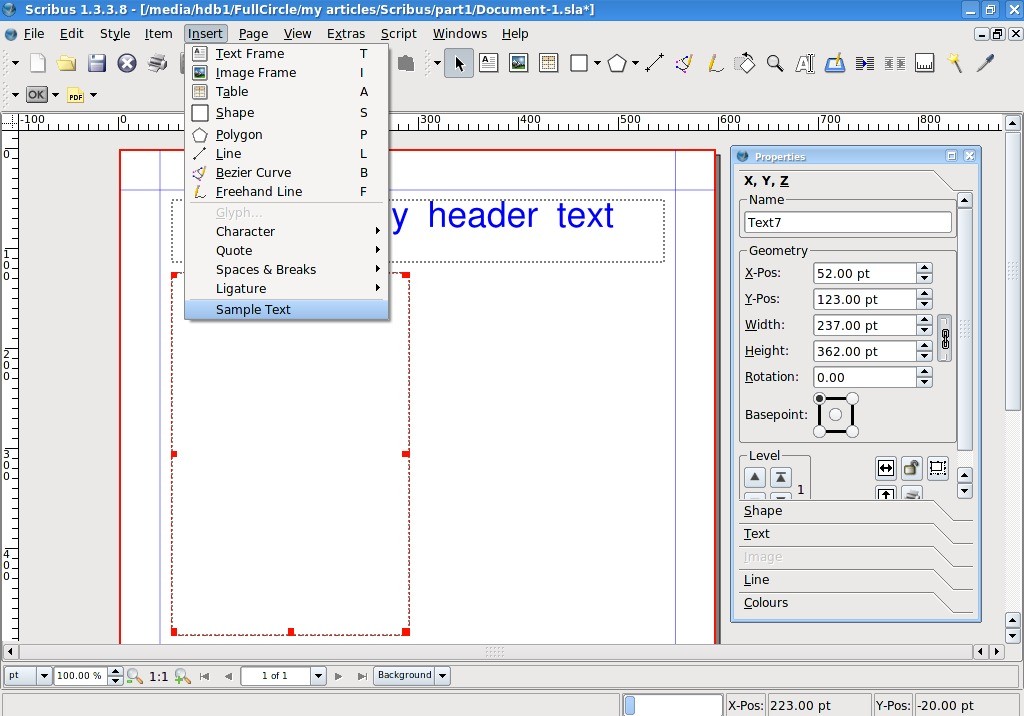
Rather than spend time typing in filler text (assuming you don't have the actual article yet) we can have Scribus fill in text for us. With the text box still selected go to the Insert menu and click Sample Text.

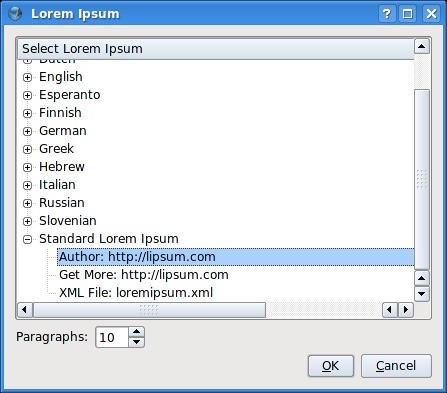

Here we can pick the language of our filler text and number of paragraphs needed. I've just selected Standard Lorem Ipsum (Latin) and ten paragraphs (the default). And click OK.