How To: Scribus - Part 4
In this fourth article in the Scribus series we will discuss creating 'colour styles' which will allow us to quickly and easily alter various text or shape colours at the click of a mouse button and with zero guess work.


Written by Ronnie Tucker
Having continuity in your publication is essential to ensure that all your pages come together to form a single publication. Last month we saw how to create Paragraph Styles this means that with the click of a button you can assign the same font, colour and settings every time with minimal work and, more importantly, no guess work. This month we look at Colours, this menu option will do a similar thing to Paragraph Styles but with boxes, lines and so on.
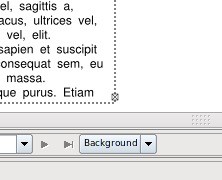
This is where we left off in Issue #3, Paragraph Styles:


Imagine this: you are on page fifty of your publication and you want your image to have a border which has the same colour and style as the image on page one. You could easily scroll, or jump, to page one but wouldn't it be easier to just have a palette of colours, with names, that you can call upon? Well with Scribus' Colours settings, you can.
First let's make a named colour.
Click on the Edit > Colours menu option.
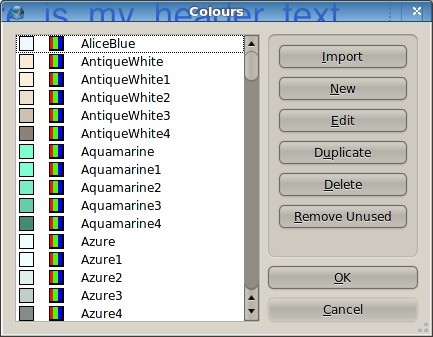

That list is the default colours that Scribus creates for almost every document, you can keep them all if you want but I find it confusing and am going to delete them all and start a fresh. But wait! What if I delete the colours used in my header and text? To save this happening, click the Remove Unused button. Here's my list now.
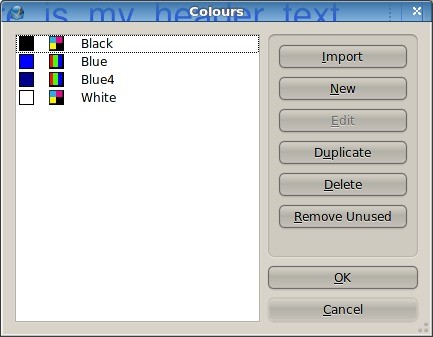

Much neater!
So lets create a new colour for our palette. Click the New button.
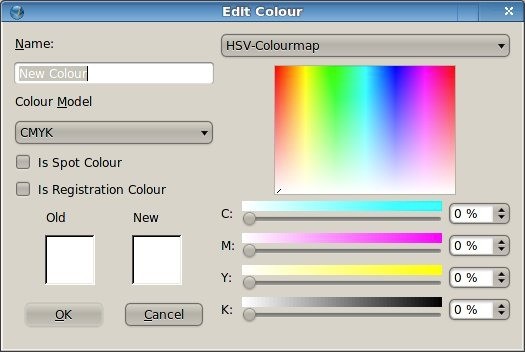

You'll see some text at the top left which says 'New Colour', change that to what you want to call this colour, I'm going to call it 'Photo Border'. Below that it says 'CMYK'. You can change that to RGB or Web Safe. If your going to send your document to a professional printer then use CMYK (same for images too!) but since this is for a PDF (and not being printed professionally) I'll choose RGB. The menu at the top right will give a list of pre-made palettes if you want this but I'm going with my custom palette.
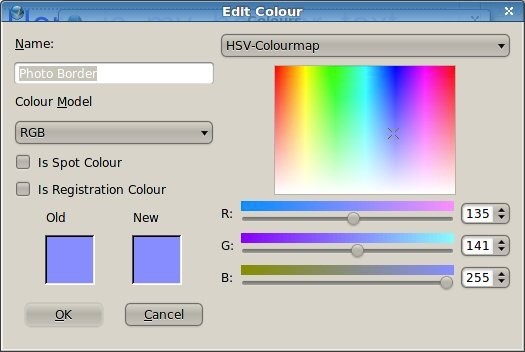

I've chosen my colour from the rainbow looking box in the right of the window and now click OK.
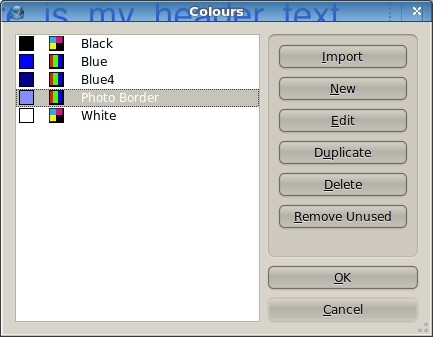

And there's my custom made colour in the list. Click OK to return to document editing.
Remember, same as with Paragraph Styles: if you change a colour that is used in your document, all instances of that colour will change to the new value.
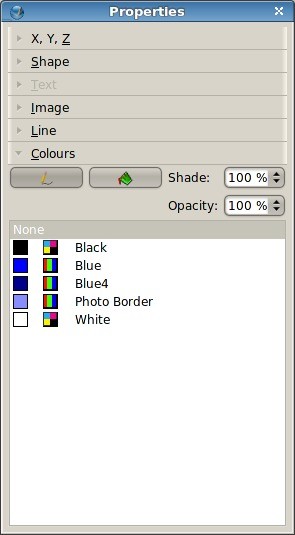

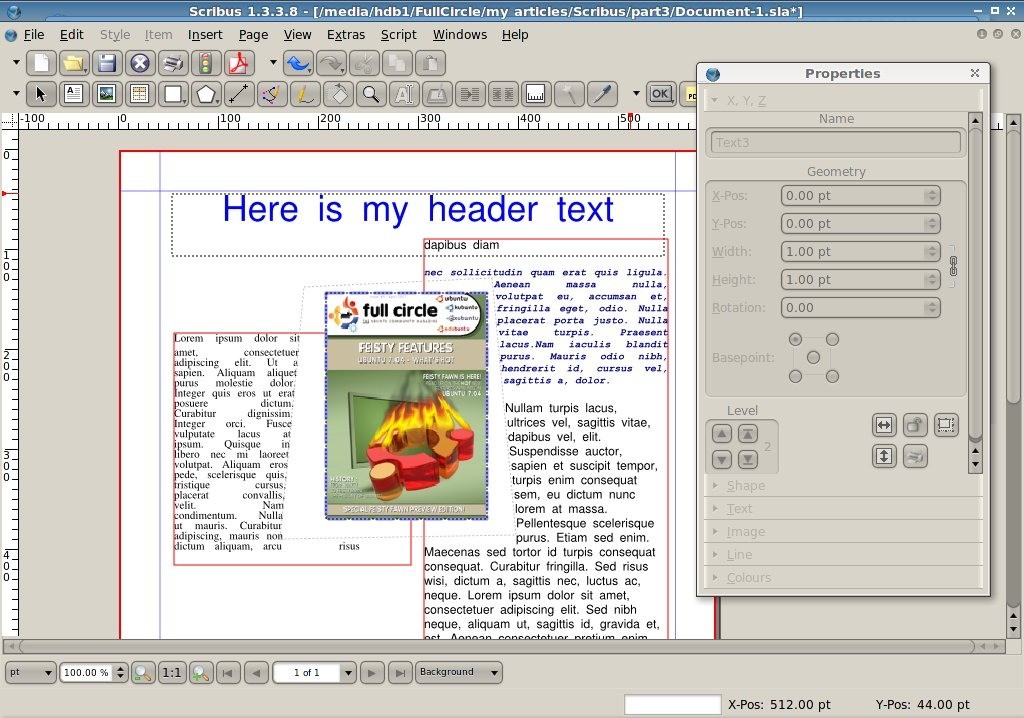
Next I need a border around my image so select the image and look at the Colour tab in the Properties window.
You see the two icons? On the right is the 'Fill' button, this is what colour you want your Shape coloured as (it won't do anything to an image but it will colour the inside of other shapes such as rectangles, circles and such like) and below the fill icon is the colour that fill is using, in this case, none. To the left is the Line Colour, this is what controls the border colour, at the moment it is set to none, so left click on our Photo Border colour. Although there probably looks like there's no change, remember that just clicking the image alone gives it a red border to show selection so click on a blank piece on the page.


I've got a blue border but I'd like it a bit thicker. To control the line thickness and type, click on the image (remember, all this will also work for any shapes you draw too) and click the Line tab in the Properties window.
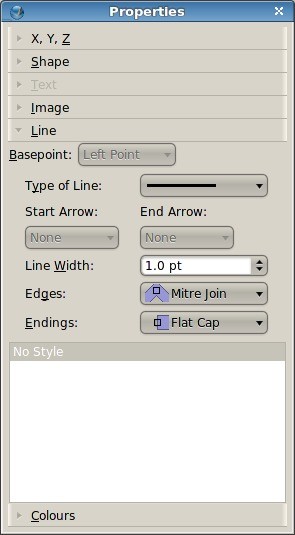

Clicking the 'Type of Line' menu will let you choose from a range of styles, I'll choose the dashes. If you've drawn a line this is also where you can choose to have an arrow head on it. 'Line Width' is the thickness of the line, I'll go for a setting of three to make sure it shows on my screenshots. 'Edges' and 'Endings' edit either the start/end of a line or the corners of a shape. Unless you have particularly wide shapes you probably won't notice a great deal of change when you play with these settings. Ok, I'm happy with that. How does it look? Again, I click on a blank piece of the page to deselect the image (or shape!)

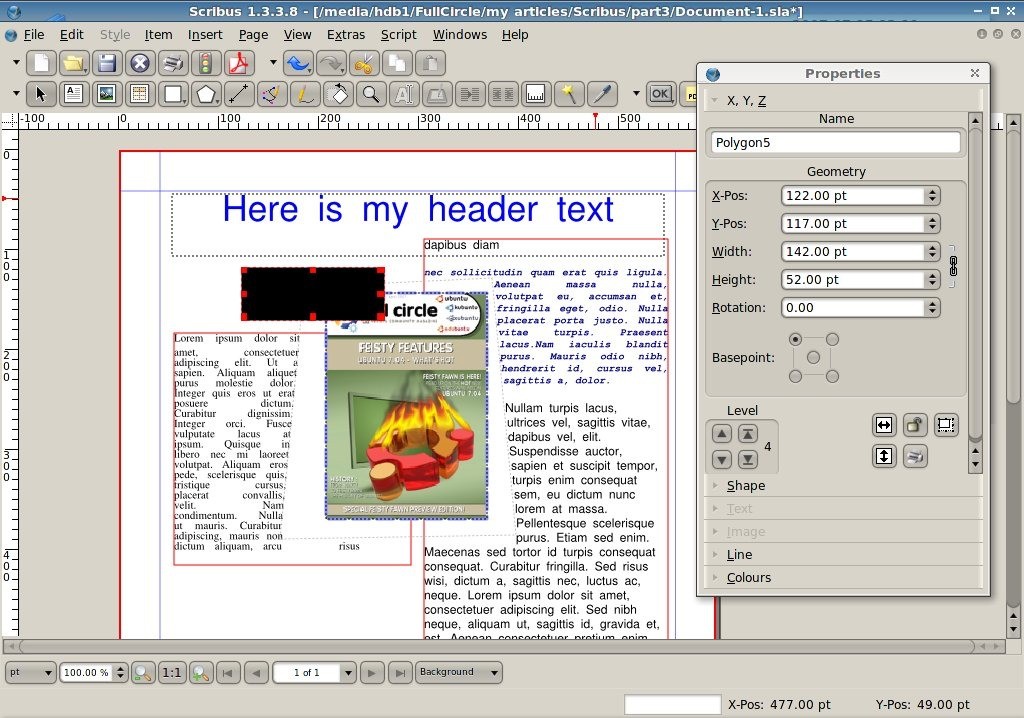
To prove my point: click the 'Insert Shape' button which is below the Print icon. Click, hold, and drag out a rectangle shape (or whichever shape you choose from) and release the mouse button. You'll probably see a black shape:

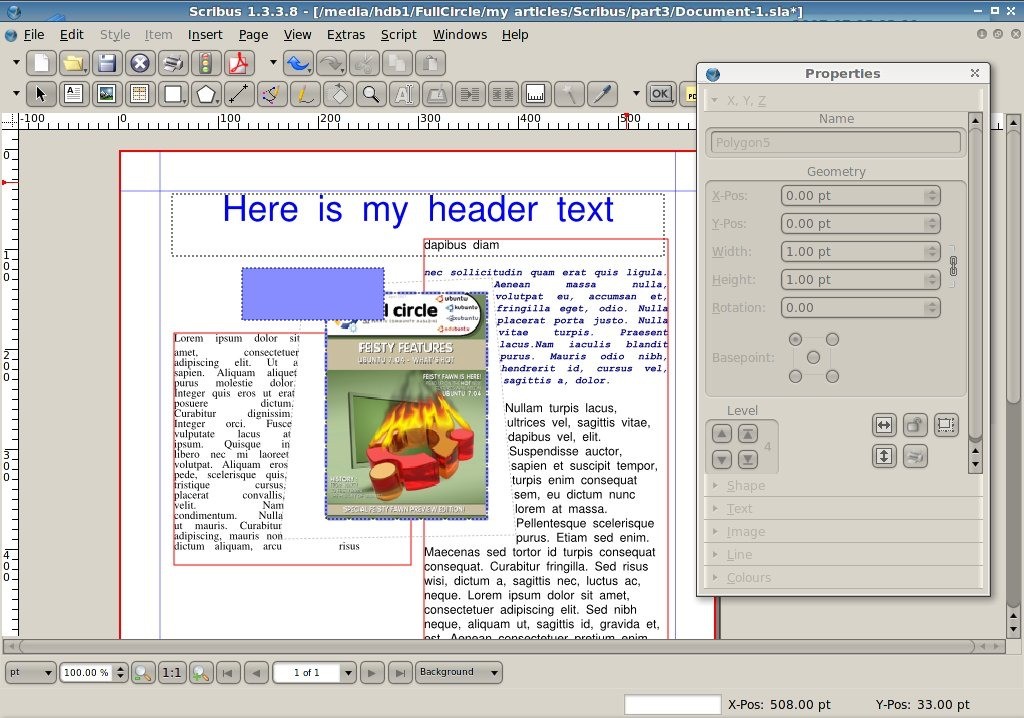
These are the default colour settings for a shape but keep the shape selected and click the Colours tab in the Properties window. Click the Fill icon and choose a colour and click the Line icon and choose a colour for it too. Again, same as with the image, you can click the Line tab and alter the thickness of the line.

Play around with the shapes, borders and colours within your document. Shapes are good for banners or to put text in, and remember: you can colour the inside of a shape as transparent by choosing 'None' for the colour.
Normally you don't want to go crazy with colours. Same as with Paragraph Styles: choose maybe six or seven and stick with them. Too many colours and text styles will make your document look confusing and unprofessional.
Next month we'll discuss Layers. Rather than have one document with everything spread across fifty pages, we can place items on separate layers. This means -- like GIMP or Photoshop -- we can turn layers on/off to show/hide groups of shapes, text, images even entire articles, which can improve performance on slower machines.